


 |
 |
 |
|---|
Desert Dawg - Building the Frame
|
This is the boat trailer that I'm hoping will work as
the frame for the DesertDawg. The rollers have been removed and a few of the
unnecessary tabs have been cut off of the frame. Obviously the frame will need
to be shortened so that's going to be my first undertaking. 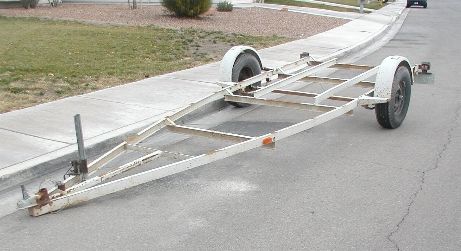 December 12, 2004 Here is the official start of the project. My friend Dave is starting to clean up some of the rough spots on the frame. Dave is one of my camping buddies and I think he's as excited about the project as I am. (And for you car guys out there, that is a rare 1961 Pontiac Ventura behind Dave.) 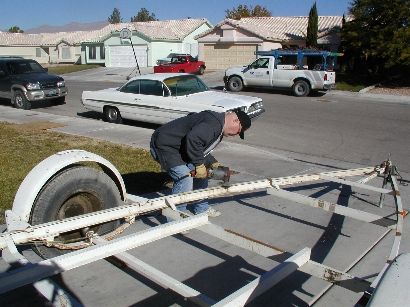 Ooops! Got a little carried away with the grinder. Good thing Dave has a hard head! 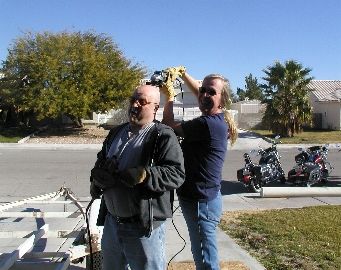 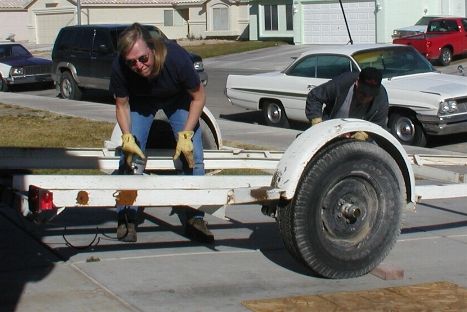 All of the crossmembers on the trailer are mounted below the frame rails. In the picture below we have moved the rear-most crossmember to be flush with the frame rails. The second crossmember is cut off and in the process of being repositioned. 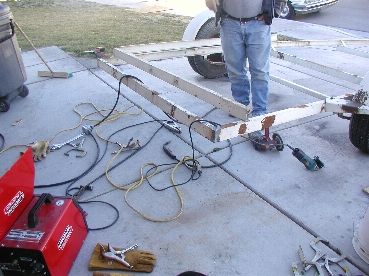 Although I am saving some money by starting with this used boat trailer, a couple of issues have popped up. First, the trailer is HEAVY. It's made out of 3" steel channel iron and it weighs a ton. Second, because of the construction of the trailer we are having to rebuild the entire thing to fit the design requirements. Although it would be more expensive, it would be quicker to start from scratch with 2" square tubing. Lastly, the springs have rigid mounts at front and back. Springs are generally mounted with the rear eye attached to a shackle so the springs can move as they compress. I need to move the axle rearward anyway, but now I'm going to have to build new mounts for the rear springs. I'll probably replace both springs at the same time. I'm saving money...right? (sometimes it's really expensive to save money) December 18, 2004 I really should be out finishing my Christmas shopping. It can wait a couple of more days...can't it?!? Once again Dave is hard at work on the project. 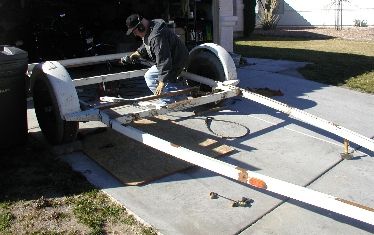 The old hitch had been welded and rewelded. What a mess! Here I am cutting it off and making way for a brand new one. 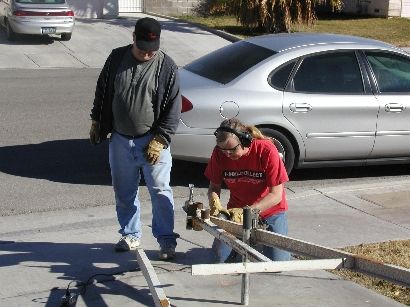 "Hey Dave, could you bend those frame rails apart so I can have a square trailer?" 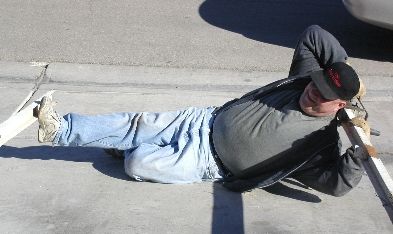 We placed a spreader bar across the frame rails to hold them while I welded on the front cross member. Dave makes sure everything is straight. 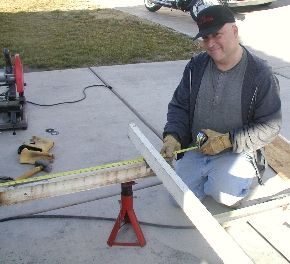 Here is a close-up of the cross members welded in flush with the frame rails.
Here is the shorted frame ready for the tongue to be welded in. But that's for another weekend. I wonder if Santa will bring me a Hurricane Hinge for Christmas... 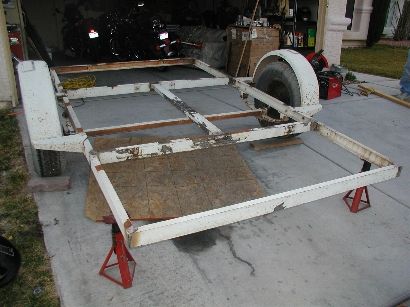 December 23, 2004 The presents are all bought, so I'm going to sneak an hour or so to mock up the tongue. I've decide to go ahead and make a removable tongue so I had go to the trailer store and by a piece of tubing that they make receiver hitches out of. OUCH! With steel prices where they are the one piece set me back over 75 bucks! I'm glad that the rest of the trailer is built from bits and pieces of the original boat trailer. Here is the mocked up tongue. The diagonal braces are rough cut to see how they fit. Now I need to spend some serious time making sure that the tongue is exactly square to the axle. I still need to move the axle back and fix the spring mounts, but I'll do that after I get the tongue all put together. If the weather holds out I might weld everything together on the day after Christmas. 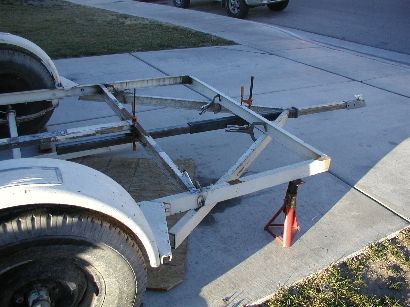 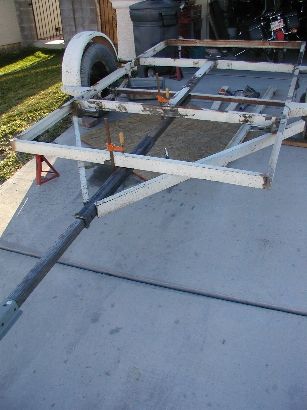 December 26, 2004 Christmas was wonderful. I should be out at the after-Christmas sales but I want to get the tongue welded up. Dave dropped by so we got to work. 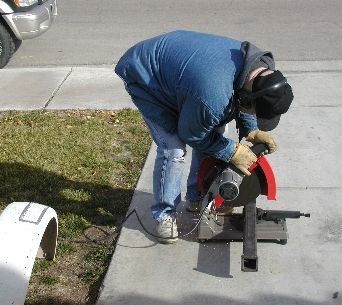 After a couple of hours fitting and welding, the frame portion of the tongue is complete. I need to head to a hitch shop to get a piece of 2x2 steel I'll use for the removable portion of the tongue. The 2x2 steel I used for mock-up is too light to be used to pull the trailer. 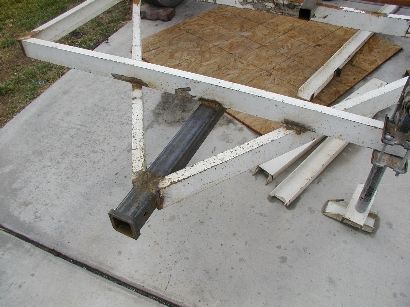 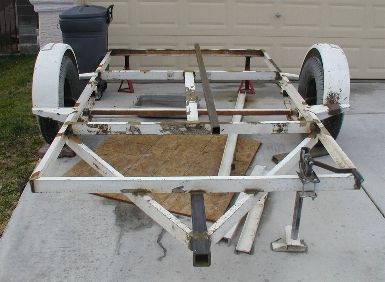
January 17, 2005 Happy New Year! The new year brought a new house project too, reflooring the bedrooms. My housemate got a good deal on Pergo flooring so we are starting with the guest room. (my bedroom is next!) Once the carpet was pulled up it made sense to repaint the room. And why not new mirrored closet doors too? Anyway, the room is complete now and I can get back to the trailer. I decided to mount a wire brush on my little grinder to strip the paint off the original fenders. The previous owner had painted the entire trailer with house paint! After looking at the price of new aluminum diamond plate fenders I will probably reuse the existing fenders. I have to say that using a wire brush wheel on the grinder was somewhat dangerous. I had to remove the safety guard to get it to clear and that put my fingers really close to the wire brush. Fortunately I was wearing gloves because I bumped the wire brush with my fingers and it tore the gloves up pretty bad. I don't want to think about how my fingers would have looked without the gloves. Lesson learned. Use care with tools! Especially sharp ones or electric ones. 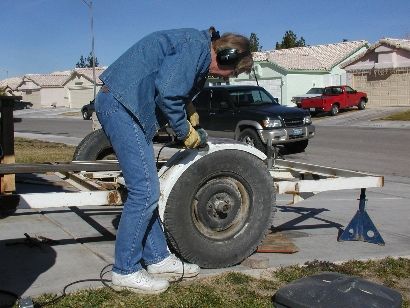 Here is one of the fenders after a good wire brushing. After I fill in a couple of holes I think they will work just fine. 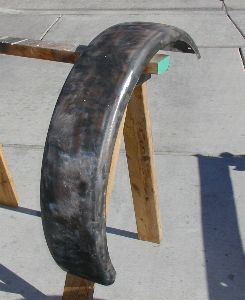 January 22, 2005 One of the big tasks is moving the axle back so I can get the proper tongue weight. I am lucky that the existing spring mounts are bolted to the frame. A little careful measuring, some new holes, and I'm ready to go. Once I unbolted the axle it was obvious that the old bolts would have to be replaced. Thirty years of rust and wear had taken their toll. A brand new Ace Hardware store opened right around the corner last week so what better time for a field trip? I wasn't disappointed! They have a nice selection of grade 8 bolts so I bought the bolts I need to mount the axle and to mount the new coupler. They even had the hitch pin that I needed to mount the tongue. It's going to be nice having them so close. 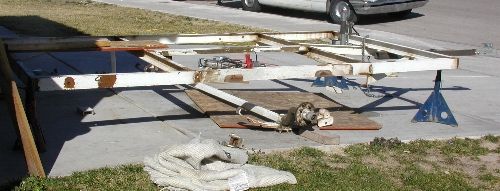 Dave wasn't here today so I had to work harder than I'm used to! After a long day, here is the results. The axle has been moved back 12 inches and the tongue has been mounted. If I temporarily hang lights on it I will be able to use it to haul the plywood home to start on the flooring and walls. I still have to mount the stabilizer jacks and fenders, then start stripping off the old paint in preparation for the new. 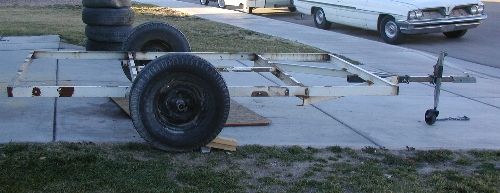 As the trailer fabrication nears an end I think about the guys who built their trailers from scratch rather than rebuilding an existing trailer. I think that rebuilding this trailer was more effort than starting from scratch. I have about $100 in the conversion. It would have been less but I wanted to have a removable tongue. February 13, 2005 Project Desert Dawg has hit a bit of a slowdown. Did I mention that this is the rainiest January on record? February is starting off with a splash too! I'm starting to think that I'm going to have to add flotation to the Dawg. As always I seem to get too many projects going at the same time. LOL! As I mentioned in the January 17 blog, Pergo has hit the house. The guest room was first and my room was next. Well, it's now done. I repainted the walls in a sage green (Disney color - Christopher Robin Swing) and put down the Pergo flooring. My housemate hung the new mirrored closet doors and floor molding. The room looks completely different and just wonderful! I'm going to repaint my dresser and put some new drawer pulls on it to complete the "remodel". Back to the Desert Dawg. Although there is no visible progress since the last blog, I haven't been ignoring the project. I've ordered new hub assemblies ($$$). The old ones had been abused and needed new bearings, races, lug nuts, and dust caps. I can buy all new hugs for just a bit more than the individual parts so that's the route I chose. I also bought the 6 wire connectors so I can convert the trailer wring from standard 4 wire trailer lighting. I'm going to be charging my battery off the vehicle's alternator so I need an extra wire. Although I don't plan on having brakes on the trailer, I'm going to have an extra wire in case I change my mind in the future. I was fortunate to have a friend give me a pair of trailer jacks for my project. They more of a leveling jack than the stabilizer legs that most of us use on our trailers. The down side is that they are bulky and difficult to mount. I haven't been able to figure out how to mount them until this evening. With a little modification to the jacks they will be great. Hopefully I'll get some nice weather soon and be able to get back to work on the trailer. I'm really excited about the project and looking forward to the maiden journey. I really hope that I'm not sitting here next February looking forward to my first journey in the trailer. April 3, 2005 I have done quite a bit of work on the trailer since my last update. The trailer has been stripped, primed and repainted. All of the suspension pieces received the same treatment. I spent a *lot* of hours with a wire wheel mounted on my 4 inch grinder stripping every part. The trailer was built in 1961 and had been repainted with house paint and who knows what else. Painting over that mess just didn't make sense. Although this isn't going to be a fancy trailer, I want the workmanship to be good. Here are the suspension pieces as they are hanging to dry before reassembly. 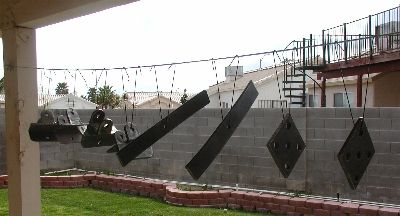 The new hubs that I ordered came in after three weeks of waiting only to find out that they didn't fit. I found a different trailer part supplier who knew exactly what the old hub was and that it was no longer being manufactured. Rather than replacing the entire suspension I decided to rebuild the hubs with new races, bearings, seals, dust caps and lug bolts. At the same time I was able to get new bushings for the springs. The old nuts and bolts were rusted and worn so I replaced them with new grade-8 ones. I feel really good about the way everything came together. Here is the trailer with a coat of primer on it. A couple of final welds and it will be time to put the welder away. We got a brief spat of warm weather so out came the sun shade. 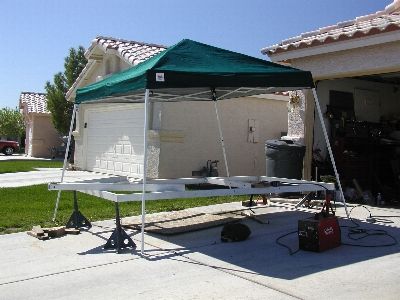 The trailer is upside down for the final coat of paint. This is just minutes before we turned it over and started to reassemble the suspension. 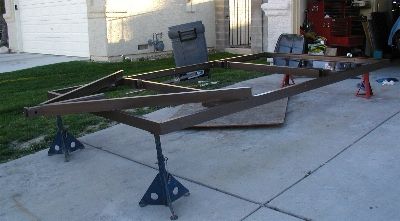 Before I continued with the build I wanted to make certain that the trailer was pulling straight. After shortening the trailer by over 6 feet, welding on a new hitch and moving the axle back by 12 inches, I wanted to verify that my measurements were all accurate. I didn't want to get all done with the trailer and find out that it doesn't pull straight. The attention to detail paid off. It pulled perfect. 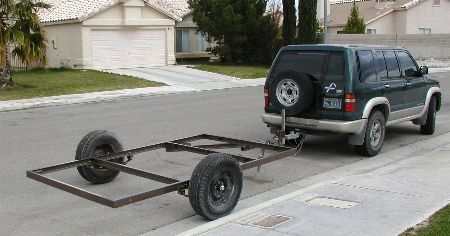 Here is a shot of the front leveler jacks. They work a lot like the jack on a car. You twist the nut on the front and down comes the leg. I think that these will make the trailer very stable when I am inside. 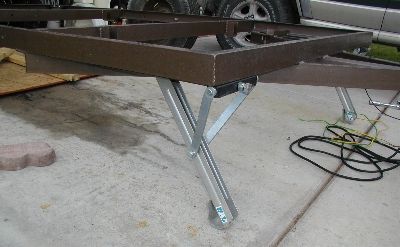 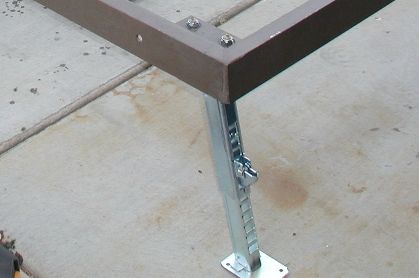 At this point I am glad to say that the frame fabrication is complete! For most folks this phase of their build goes pretty fast. For me it's been a long, drawn out process. I'm proud of the work I've done but I'm also glad it's over. July 5, 2005 After installing the under-floor storage boxes it became apparent that I would need to raise the trailer so there is enough clearance under the trailer. Although I don't plan on doing any real off-roading with this trailer, I certainly want to be able to take it down dirt roads or over some rough terrain. Today I moved the leaf springs from below the axle to above the axle. Now the trailer sits about 4 inches higher than it did before. The additional height makes the trailer look good as well well as provide extra clearance. August 27, 2006 Oh my! It's been over a year since I have updated this page. Of course I would have preferred to be completely done with this part of the construction but there are a few lingering items that need to be wrapped up. First I want to make some brackets to hold the tail lights. The tail light brackets that came with the lights are beyond cheap. I'm going to make some sturdy brackets that will work well on the trailer. Next, I need to build the fender brackets, but I'm getting ahead of myself. 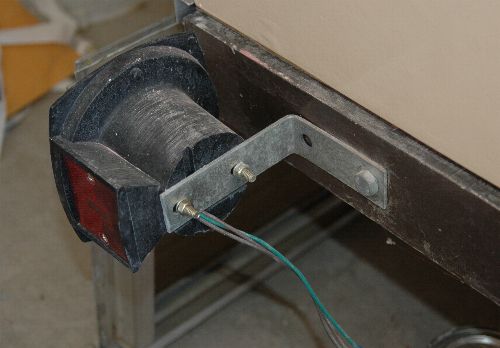 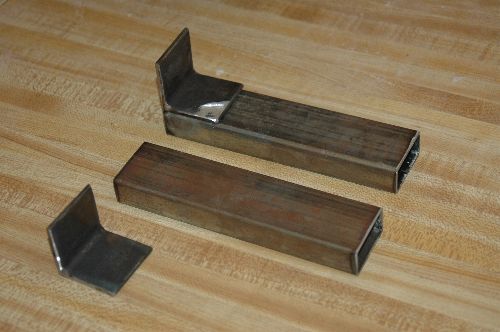 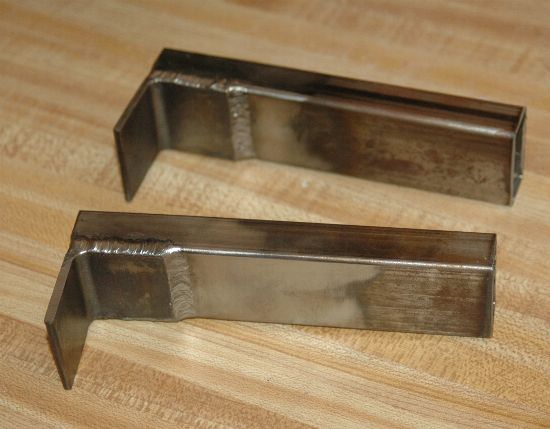 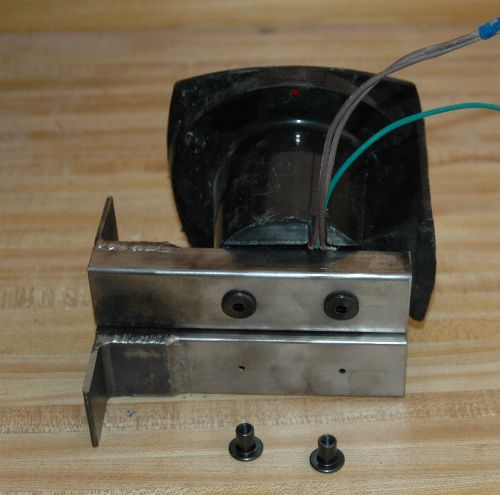 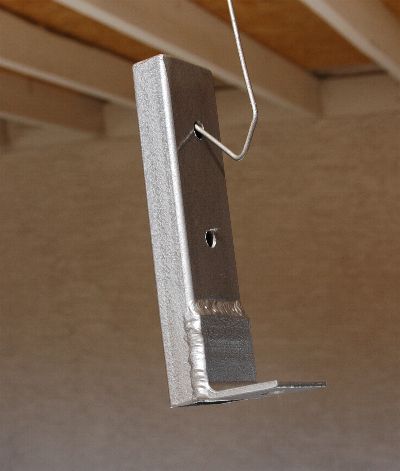 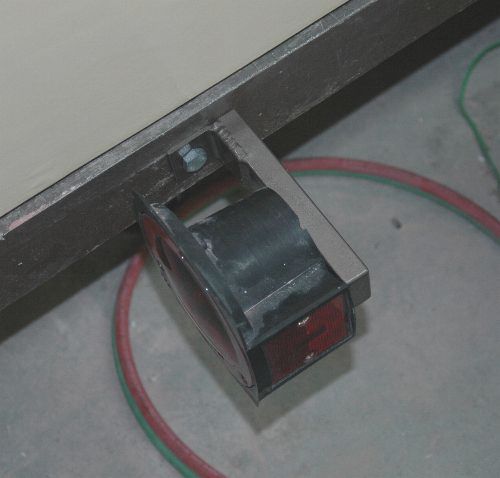 A quick word about safety. I needed to enlarge the mounting hole so the bolt would fit through. Rather than clamping the bracket I decided hold it and use the drill to enlarge the hole. Dumb! The drill bit caught the bracket spinning it around and pinning my finger on the drill trigger. I couldn't let off the trigger so the drill just kept pressing the bracket against my finger holding the power on. On the third try I was finally able to pry the bracket away from my finger so I could let off the trigger. There was no blood or broken bones, but I'm really lucky. Three days later and it still hurts. I was using a battery powered drill that was just about ready to be recharged. If I was using a fresh battery, or a 110v drill, things would have been much worse. The picture below shows the indentation on my finger joint where it was pinned.  September 9 - 10, 2006 Well, here's the surprise. I've decided against the old rounded fenders and bought some Jeep style diamond plate fenders. I think they go really well with the overall shape of the trailer. I'm planning on using diamond plate trim around the bottom of the trailer so it will all tie together visually. 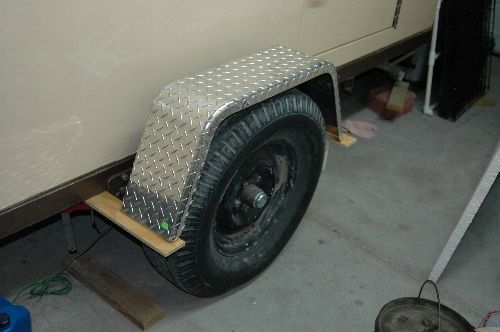 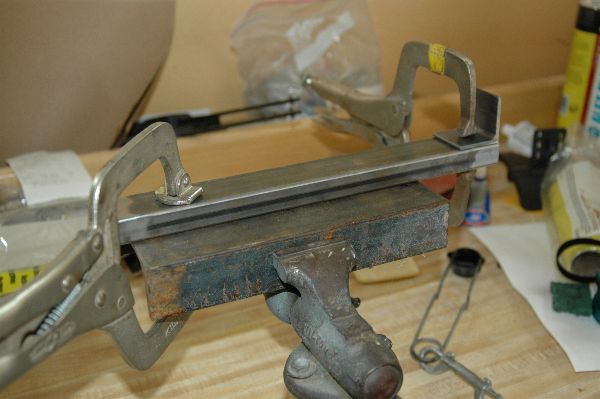 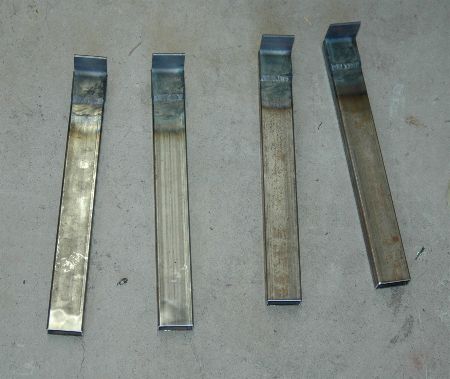 September 16 - 17, 2006 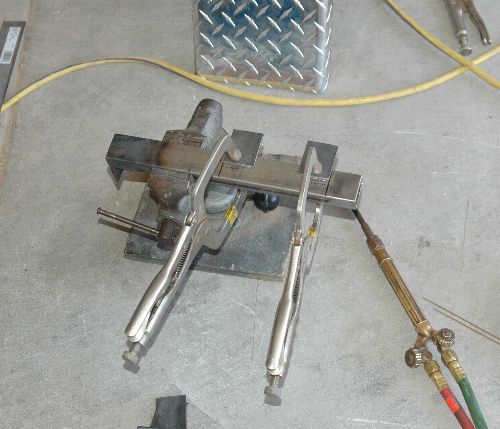 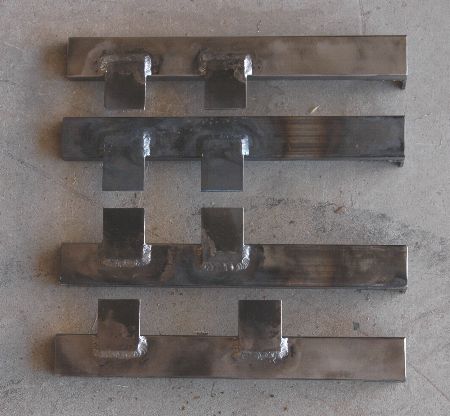 I wasn't paying attention when I did the last one and put the tab on the wrong side of the mark. I had to grind down the welds and move the tab to where it belongs. September 22 - 24, 2006 I'm continuing to work on mounting the fenders. I ground down the weld on the misplaced tab and rewelded it into the correct location. Now I have both of the mounts built and ready for paint. 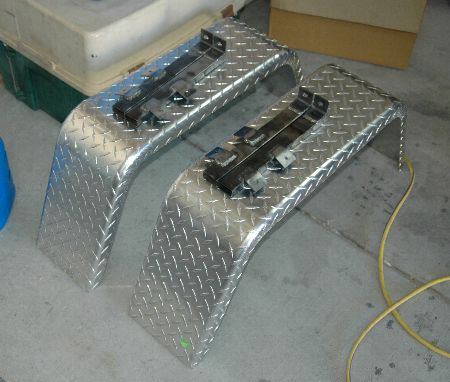 I didn't want the brackets to be on the outside of the fenders so it took me a while to figure out how to mount them. That meant cutting into my brand new fender! Still, I like the fact that most of the bracket is hidden inside the fender. 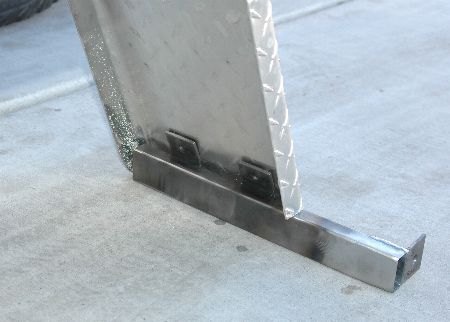 This is a close-up of the cutting required to get everything lined up. No big deal really. I bought some stainless steel buttonhead screws to hold the fender to the bracket. Oh, the markings on the bracket, mean "driver's side, rear bracket". I'm easily confused and found that marking things helps! ;-) 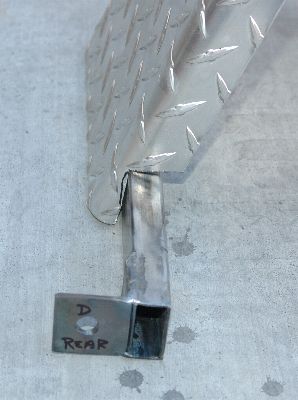 Once again I have set the fenders on the tires to see how it's going to look. Surprise! I've also started adding the diamond plate trim around the trailer. Looks pretty rugged doesn't it? 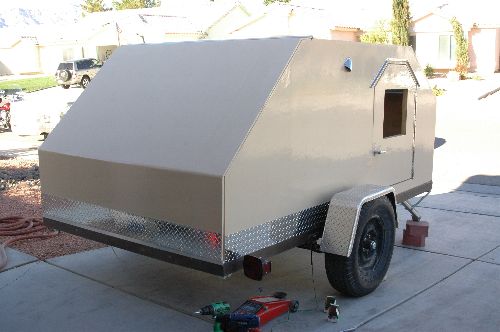 My friend suggested that I make a bracket that attaches to the top of the fender and connects it to the side wall of the trailer. I'm thinking it's a good idea in case someone decides to use the fender as a ladder to look on top of the trailer. October 1, 2006 The fenders are mounted! I will probably add an additional brace at the top of the fender, but for now they are in place. I'm a bit surprised just how solid they are considering that I just have two mounts. I wouldn't use them for a step, but they would certainly be a great spot to brew sun tea. 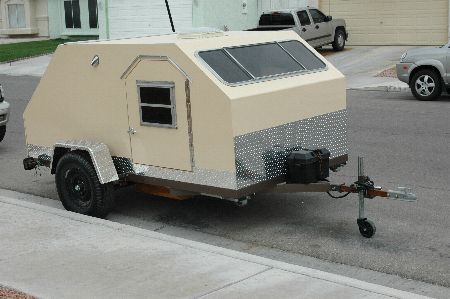 May 5, 2007 I'm getting ready to take the Desert Dawg out for her maiden voyage! This means that I have to finish up some of the safety items I've been holding off on. I need a set of new tires and need to build a new tongue out of stronger metal. The original tires that came on the boat trailer were starting to crack and dry rot. I wouldn't trust them going across town much less on the interstate. Initially I was going to just buy new tires to put on the existing rims but when I pulled the wheels and started to clean them up, I found out that the rims weren't even the same. I didn't like those wheels anyway so I decided to just buy a new set of trailer wheels and tires. I really wanted some chrome spoked wheels, but money is a factor and I ended up with the less expensive white spokes. 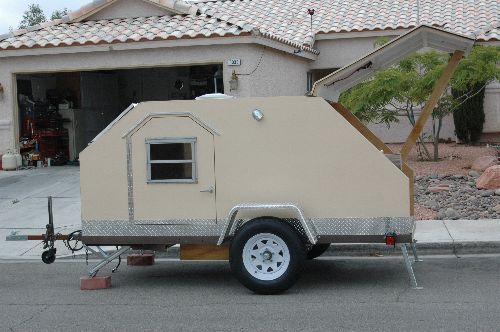 As you know, I built a removable tongue for the trailer. I had a piece of light weight tubing that I could use during the building process but knew I would need to replace it before I actually started towing the trailer to different places. I purchased a piece of heavier tubing at a local welding shop and redid the tongue. Since this was the "real" tongue, I took everything apart and repainted it. 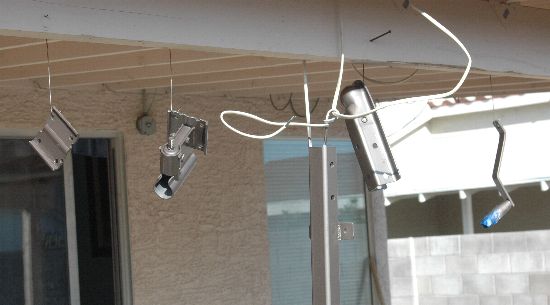 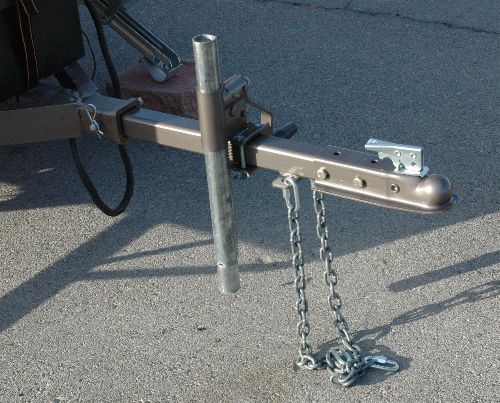 June 1-3, 2007 The first camping trip in the Dawg highlighted a few details that I had overlooked. One of the bigger ones is the lack of a spare tire holder. I had the back of the SUV filled up with Dutch Oven cooking equipment so there wasn't a lot of extra room. The trailer spare seemed to be in the way for the entire trip. On top of that, the tire is brand new and had that horrible rubber smell for the whole time. Ugh. My first thought was to throw together a mount that would fit on the side of the tongue. After some measuring and holding the tire in place, it became obvious that this just wasn't the place for the spare. Mounting it at the front of the trailer would require relocating the battery but it's the best spot for the tire. Prior proper planning prevents poor performance! I blew it on this one. 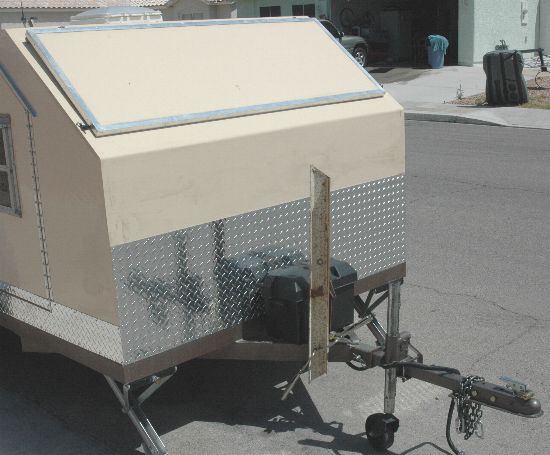 My first thought was to drill 3 holes for wheel lug bolts. After playing around with the location of the tire and battery box, using lug bolts would have required more clearance to pull the spare off. The tire is going to sit right on the tongue so there is no need to over engineer the mount. I'll just use a single bolt through the mount to hold the tire in place. 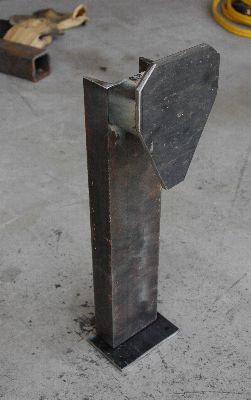 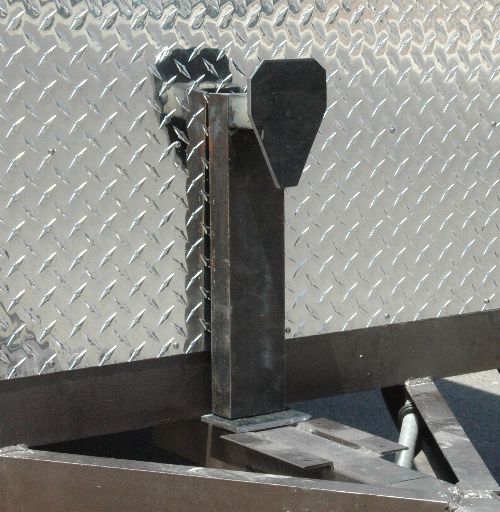 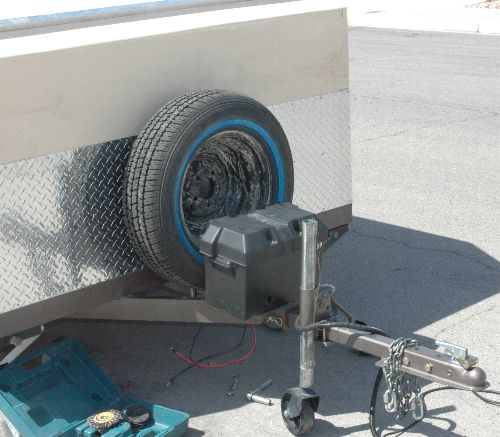 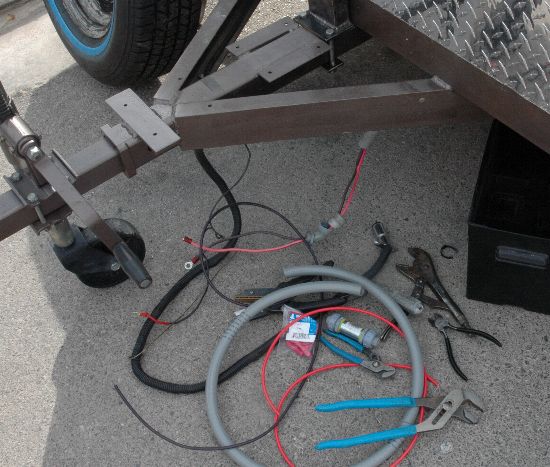 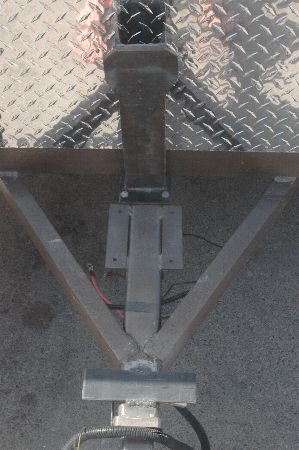 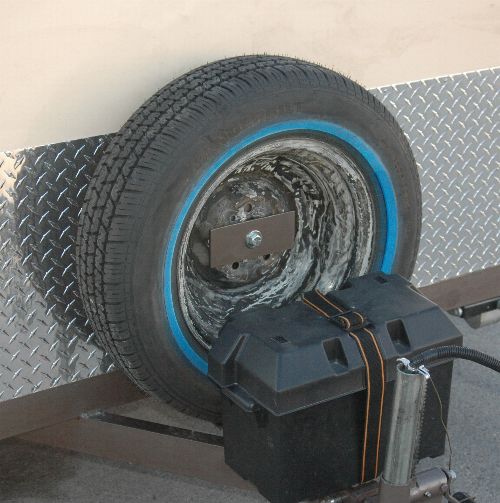 A little more planning would have prevented all of this work. Still, I now have a spare tire holder that will keep me from having to lug around the spare when I go camping. |