


 |
 |
 |
|---|
Desert Dawg - Building the
Shell
Part
III
|
March 4-5,
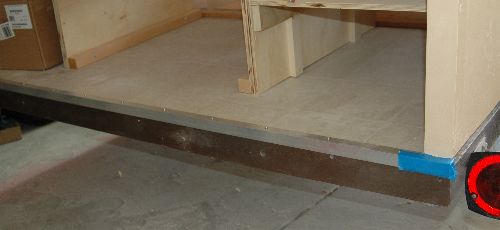
2006 It appears that using Bondo to finish the door openings is going to work so I'm back to masking the walls to make certain I don't ruin the interior or exterior finish. The blue painter's tape isn't cheap but it sure works well. 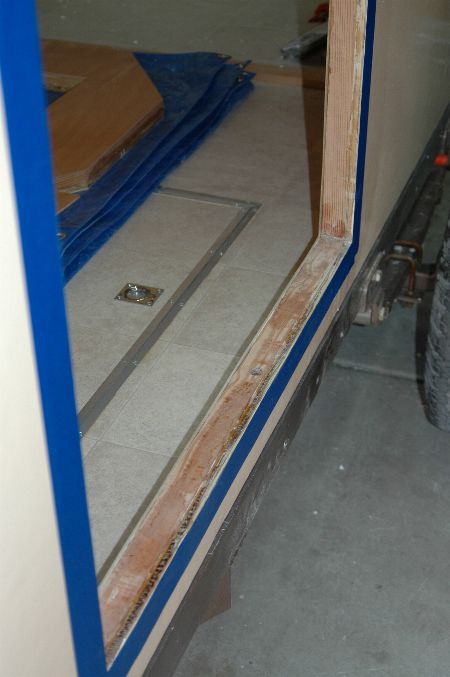 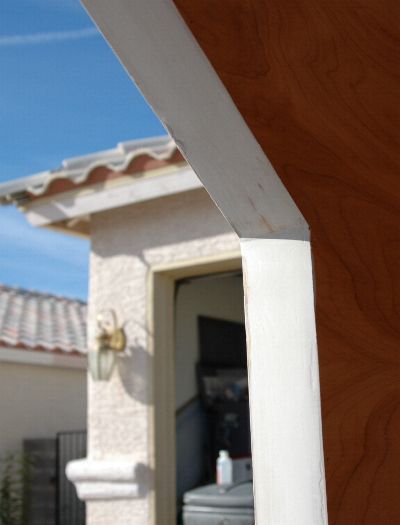 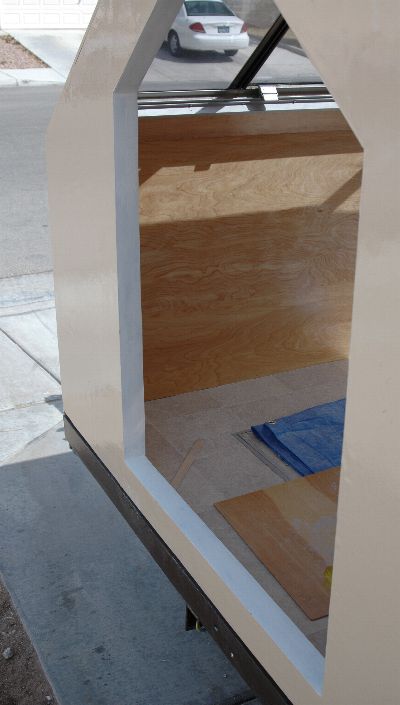 March 11-12, 2006 I've gotten the first coat of color on the door sills. It is a small detail that makes the trailer look nice. I'm going to use aluminum angle around the edges. 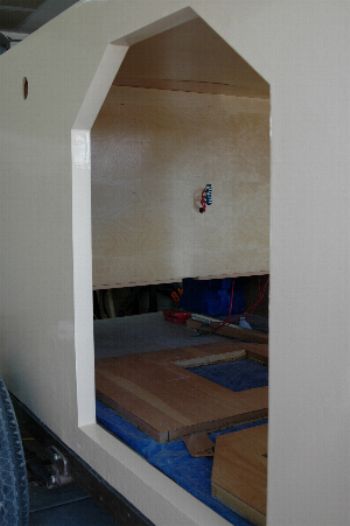 March 25-26, 2006 I received my stainless steel hinge so I can do an initial fitting of the doors. I want to make certain that there is going to be enough clearance before I finish the door edges and trim out the door openings. I'm thinking how much work it was to do the trim around the storage compartments. This is going to be more of the same. 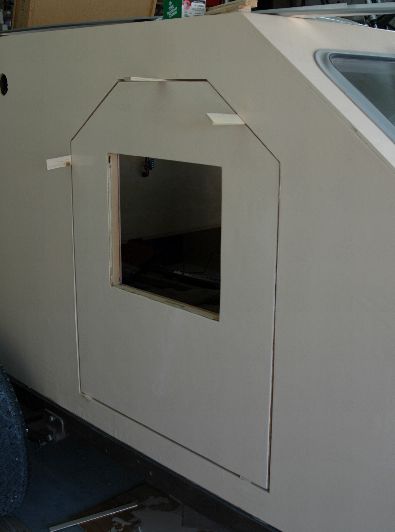 I've used a couple of screws to hold the hinge and door in place. Then I set the window in place to see how it was all going to fit together. 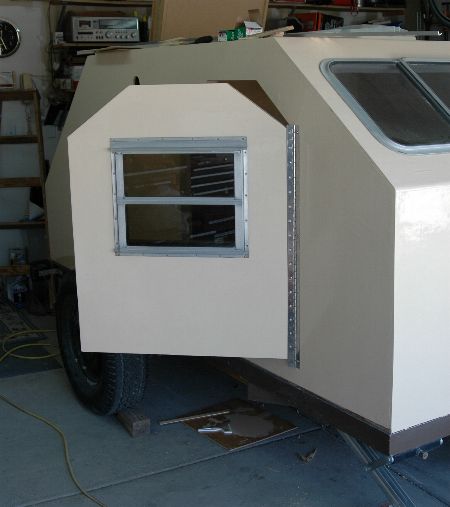 May 12-13, 2006 Time seems to fly this time of year. April was lost to an out of town wedding, the Laughlin motorcycle rally, and some springtime yard work. During this time however I was able to finish using Bondo to seal the door edges, and also prime and paint the edges. It's slow, dusty and boring work that doesn't lend itself to pictures. There is more of this 'fun' work when I finish the galley. As I start to work on the exterior of the trailer I've started to buy stainless steel screws. It's a small detail but if you are building your own trailer, it is one that you don't want to overlook. Stainless is more expensive but you won't have rust stains all over your trailer. 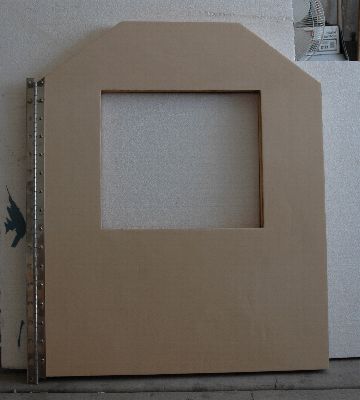 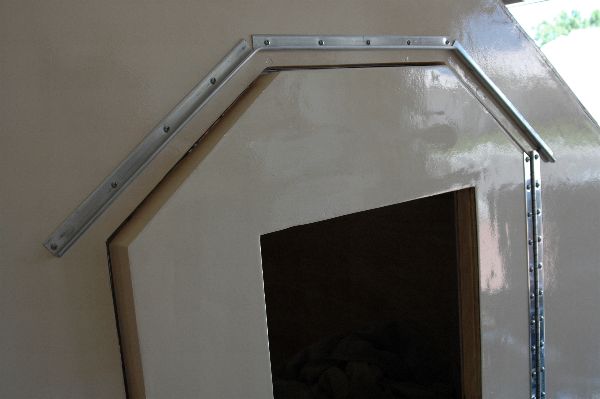 Here's my work center. The XM radio is a must while I'm working. I really love the range of music, news and entertainment channels. It's also nice to take long trips and not lose my favorite channel. As the temp starts to rise here in Vegas the fan and suntan lotion are required equipment. I'll pretend you don't see the chips. 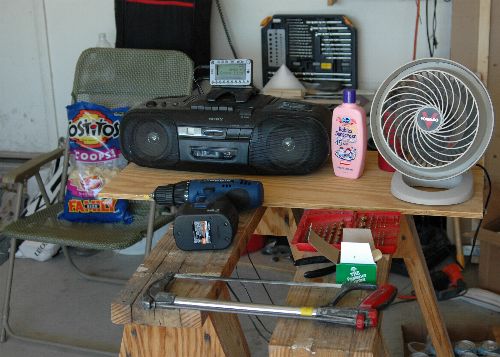 May 26-28, 2006 It's Memorial Day weekend and I would like to take a moment to remember all of the veterans who have served our country in time of war and peace.  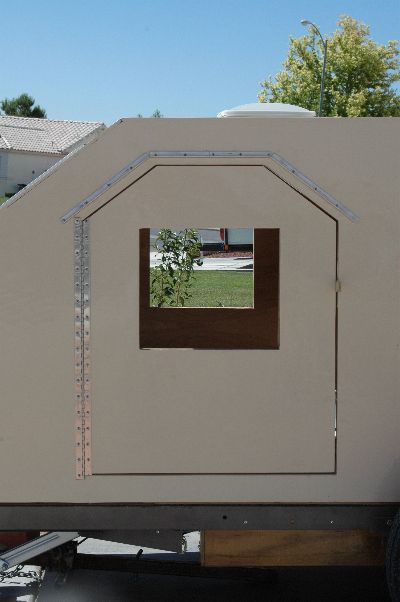 Creating a seal all the way around the door is a bit of a challenge for me. I have decided to use aluminum angle to create a lip that I will stick the gasket material to. 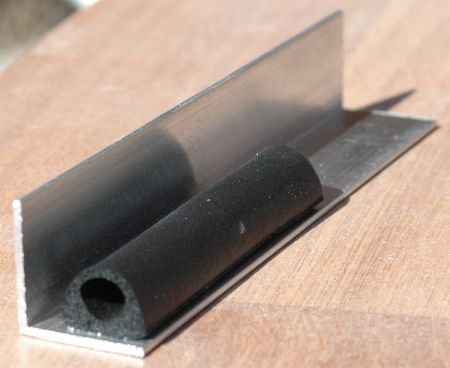 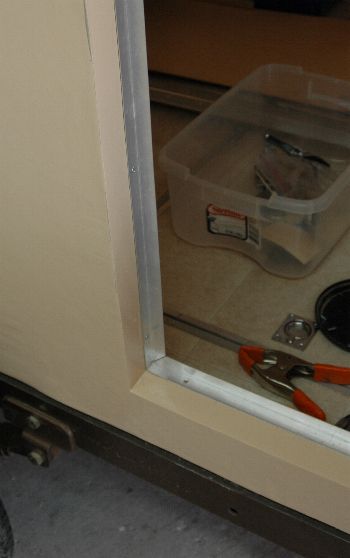 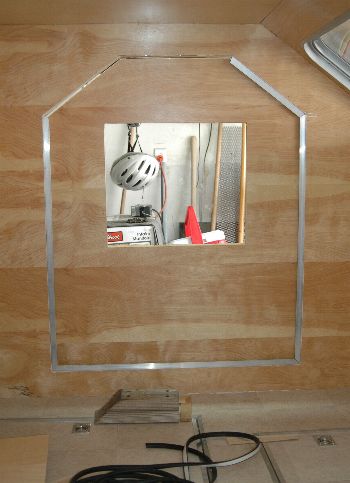 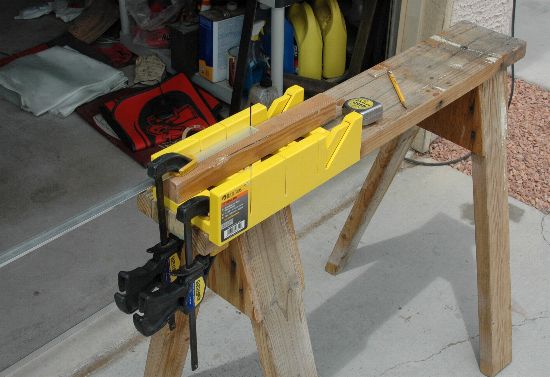 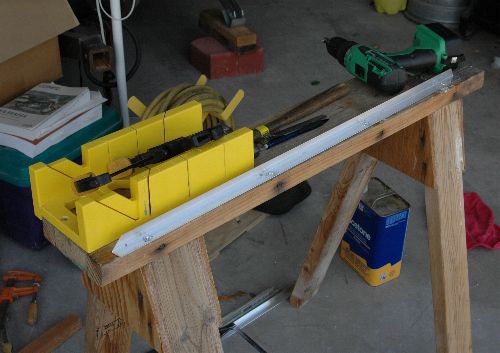 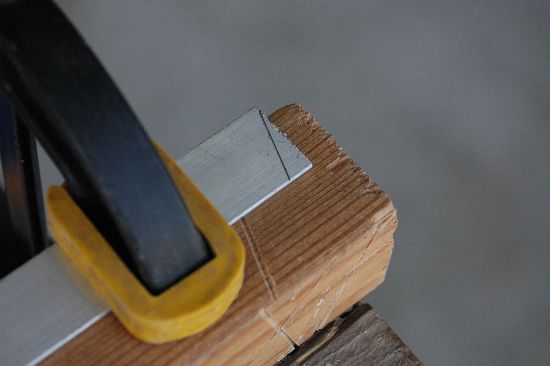 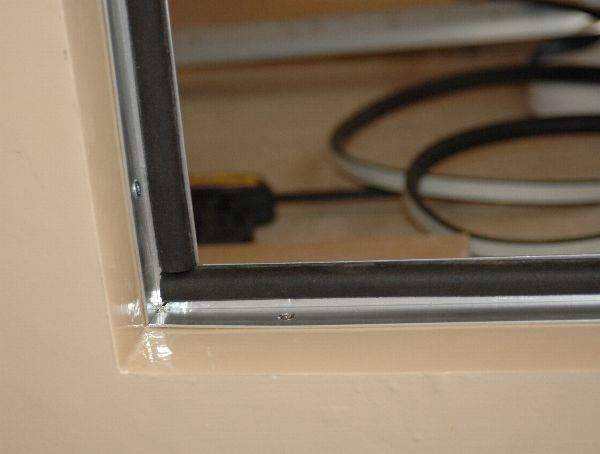 June 3-4, 2006 I've been putting it off, but it is now time to build the hatch. After reading the teardrop list for the last couple of years, the doors and hatch seem to be the biggest challenge in building the trailer. I am going to do a lot of measuring, looking, and thinking before I actually start building. There are times when I wonder if it would be easier to build a hatch, then build the rest of the trailer around it. LOL I need to cut the Hurricane Hinge to the proper width and mount it. This will allow me to build the hatch frame relative to the exact position of the hinge. I need to seal under the hinge so water can't find it's way under the hinge. 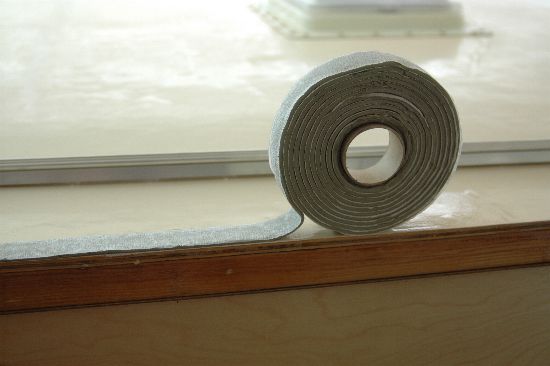 The temperature got up to 106°F on both Saturday and Sunday. Working out in the direct sun in that type of heat is just out of the question for me. The sun shade makes it possible for me to work without getting sunburned and possibly a sun stroke. What's wrong with the picture below? I'll tell you. The clamps are left out in the direct sun. Grab one of those with your bare hand and you will find out the meaning of HOT! (Guess how I know that??) 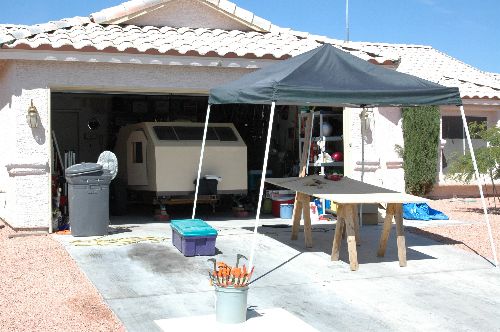 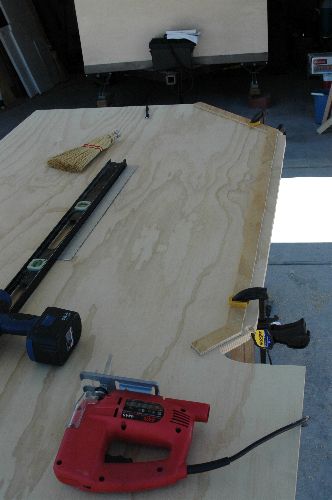 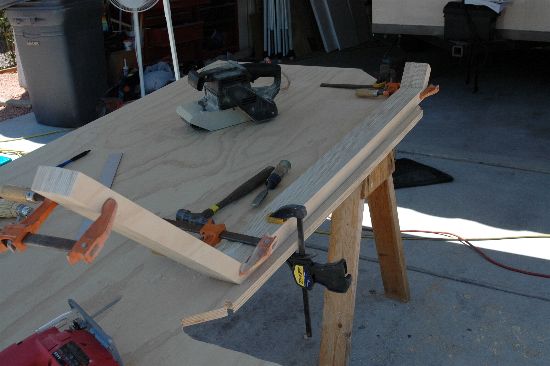 Another lesson learned! Don't trust your saw to be adjusted properly when you bring it home from the store. Also, don't trust the little angle markings on the saw to be accurate enough. I found that when I cut from one direction then cut from the opposite direction, the angle where the two cuts came together does not match. It occurred to me that the saw blade isn't adjusted properly. Ugh! 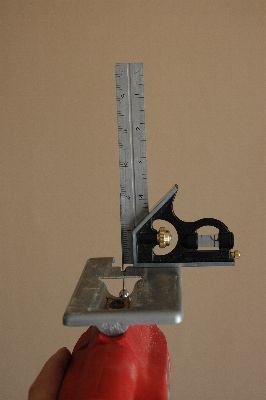 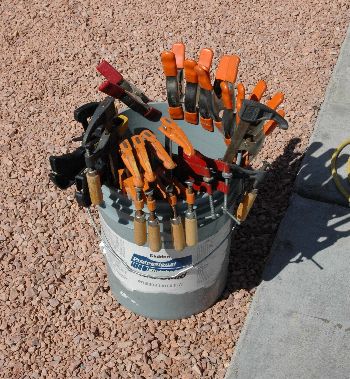 In this picture I'm mocking up the exact hatch placement. What you can't see in the picture is that I have placed small strips of wood between the two outside ribs and the walls to provide clearance for the hatch to shut without scraping the side walls. There is another strip of wood along the bottom to emulate the space necessary for the rubber seal. There is also a plywood strip between the top crossmember and the hinge that emulates the hatch sheathing. All of this spacing is critical to the final fit and sealing of the hatch. 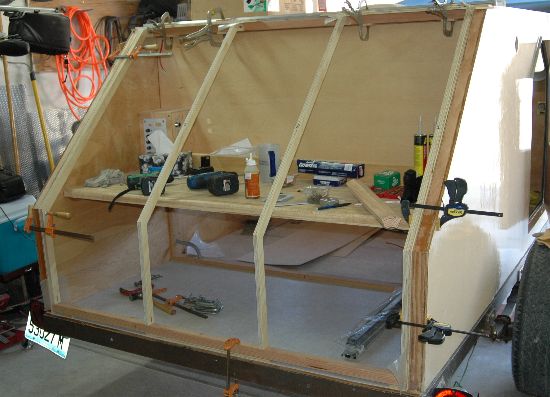 The hatch is angled down at 45°. At each bend I am putting a crossmember to support the sheathing and strengthen the hatch. Just like when I built the front of the trailer, the rear crossmembers were made from two pieces of wood, beveled, and glued together. 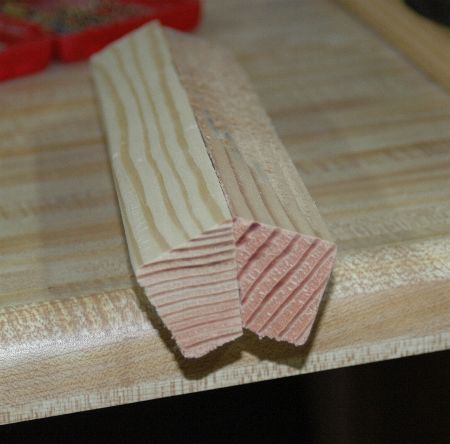 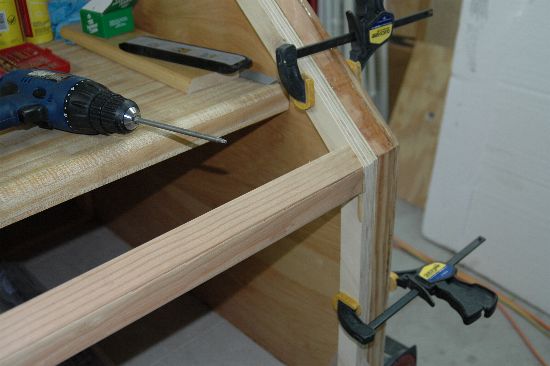 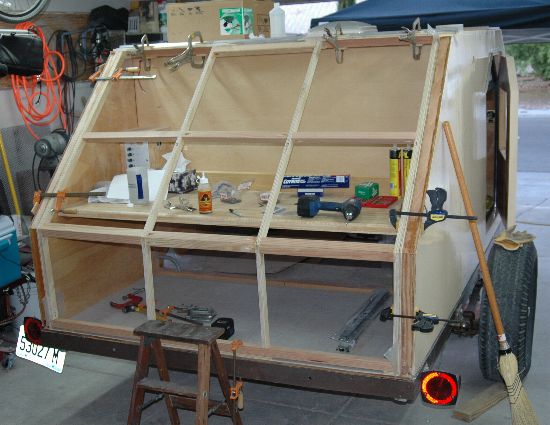 A friend of mine is going to build the slideouts for the ice chest and camp stove. We have put everything in place to make sure that the spacing all works out. I would hate for one of the openings to be an inch too narrow! 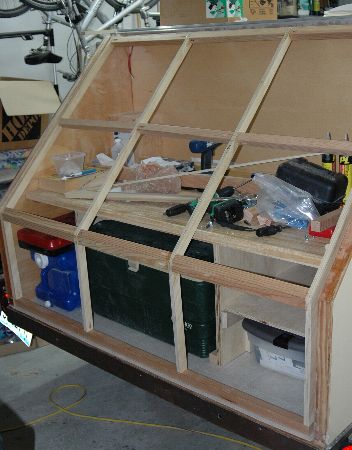 June 10-11, 2006 This weekend I wanted to get the sheathing on the rear hatch. It's not a big project but it does start to finish off the rear of the trailer. In fact it's the last major piece of fabrication on the exterior of the trailer. I'm starting to see the light at the end of the tunnel and for the first time I don't think it's an oncoming train! 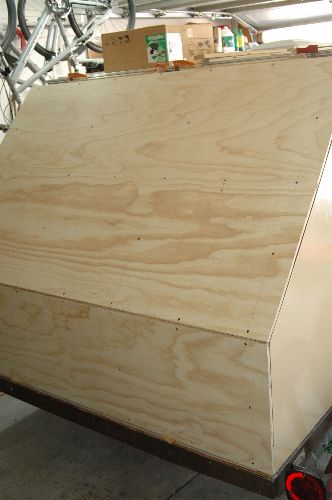 This part of the hatch doesn't look very significant, but I believe it is the most important part of the entire hatch. The hatch attaches to the hinge along the 2 x 2 and the ribs make a butt-joint with the 2 x 2. The top piece of plywood is what ties the whole thing together and provides enough strength for the hatch not to fall apart under its own weight. 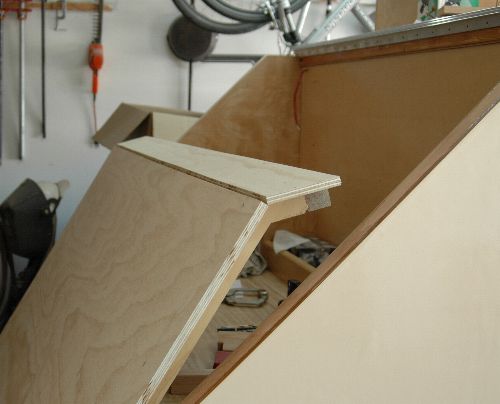 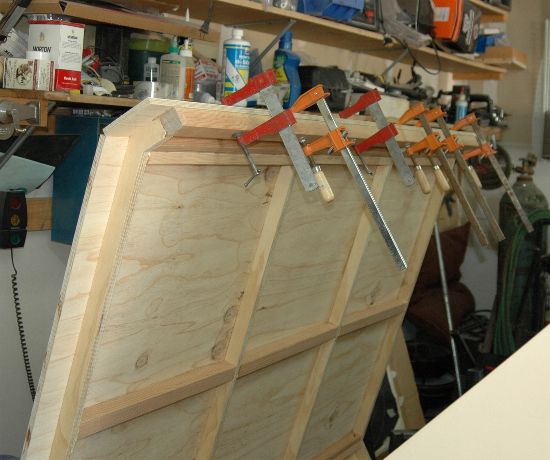 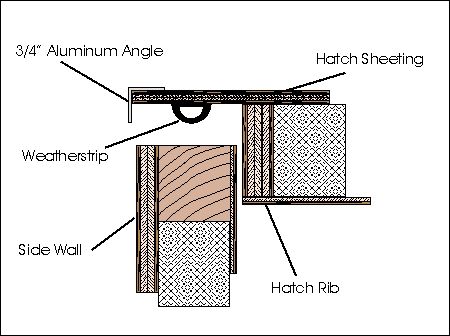 Next step? Start the fiberglassing of the hatch. July 2, 2006 Last weekend a friend and I traveled down to Southern California to attend the Mountain Dog hosted by the SoCal chapter of the International Dutch Oven Society. As always, it was a wonderful event with lots of nice folks and great food. I missed the event last year so it was really great to see everyone again. There was even a great couple who brought their teardrop along. Made me wish that mine would have been ready. Although I don't generally have to work on weekends, this weekend was an exception. Sunday is the only day this weekend that I can work on the trailer. I really need to get going with the Redwood gathering coming up at the end of the month. I've tried to identify those tasks that must be done for me to take the trailer.
 Back to working on the hatch! Here I've mixed up some epoxy and filler to create a fillet between the two pieces of plywood. I could have cut them at an angle for a nice, tight fit that only required a little wood putty, but using epoxy actually creates a strong structure. 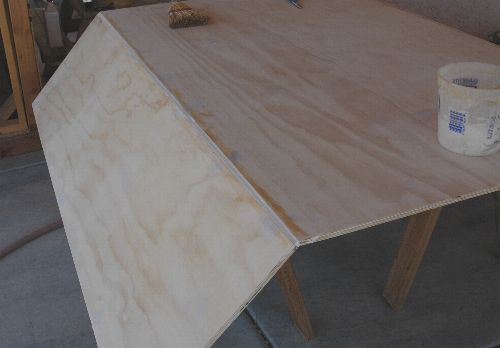 Ok. Ok. I just don't like to show pictures of myself, but my friend picked up my camera and snapped this picture. So what the heck, I'll post it because there is a lesson to be learned here. Notice that I have my hair pulled up and clipped with a hair clip. Guess how I learned not to leave my hair down while working with epoxy? 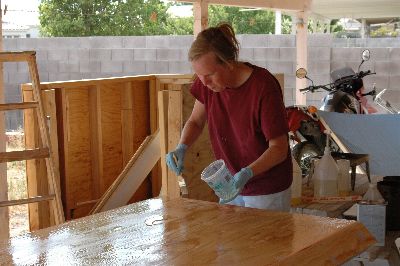 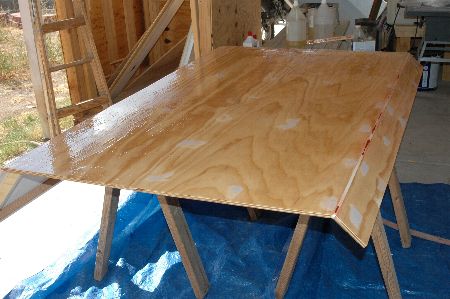 Tomorrow is the 4th of July!! Happy Birthday America! July 4, 2006 After coming up with the list of tasks that have to be done for the Redwood Gathering, I've come to the conclusion that the Desert Dawg is going to still be in the garage while I'm enjoying the cool weather in Northern California. I really wanted to take it but there is so much to do that I don't want to rush through things just to make the gathering. Sigh. Still, I think it's the best decision. Regardless of whether the trailer stays or goes, I wanted to get some more work done today. The clamshell vent covers were delivered on Monday so I'm excited to see how they are going to look on the trailer. Of course this means a mandatory trip to the hardware store for stainless steel screws. 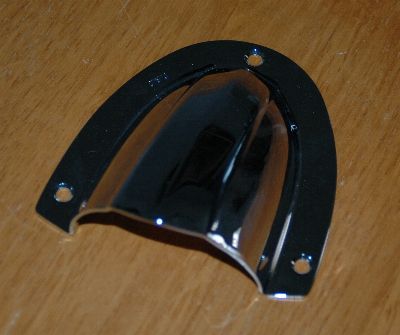 At first I thought about pointing the vent straight down but it didn't look very good. After playing around with it a bit I found an angle that I think complements the overall look of the trailer. I applied some silicone calk around the base of the shell and screwed it to the side of the trailer. Not bad! I turned the fans on to try them out now that they are complete. There is a nice air flow coming out of the vent. Although they aren't going to cool the trailer per se, they are going to keep fresh air circulating throughout the trailer. 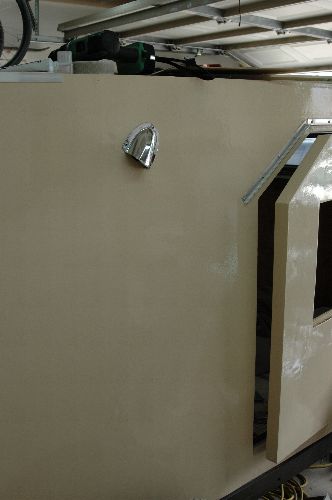 There has been some talk on the teardrop forum as to whether fiberglass is necessary or if a couple coats of epoxy resin is enough. I don't know who's right but since I have already bought the fiberglass, I'm going to use it. 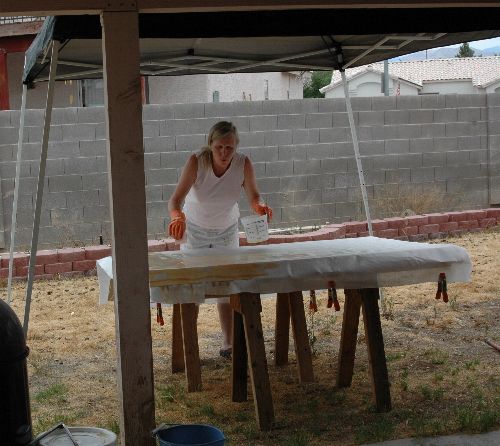 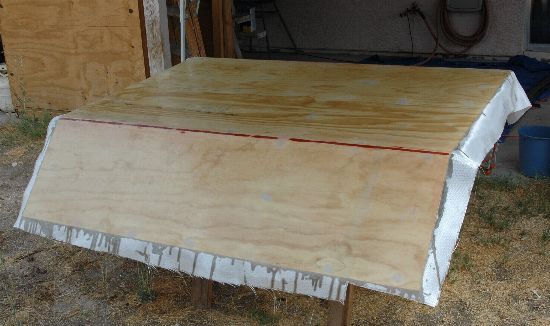 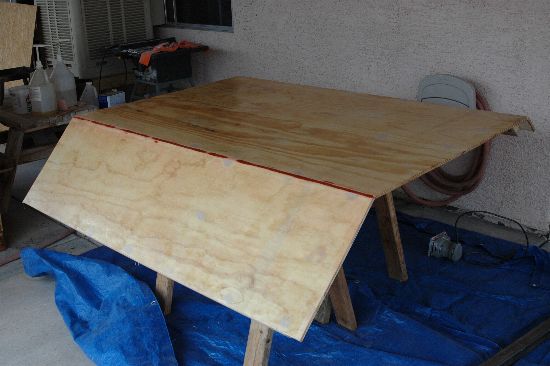 August 6, 2006 Wow, time flies when you are having fun. I haven't worked on the trailer for a while, but I have been busy. It finally dawned on me that I just wasn't going to have the Desert Dawg ready to make the trip to the Inaugural Redwood Gathering in northern California. I really wanted to see all the tears, meet the folks that I've been chatting with online, and see those amazing trees for the first time. Although the Dawg was staying home, my friend Kelly and I headed out with her pop-up trailer in tow. It was an amazing event and I have pictures I am going to post in the near future. I've been able to get two more coats of resin on the hatch with hours of sanding thrown in just for fun. This is pretty boring work. I could take more pictures but they would all look the same....the hatch covered with sanding dust. 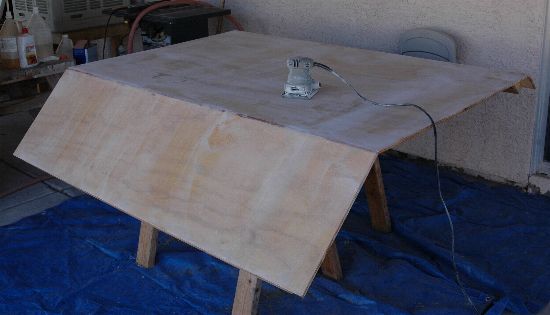 Now I've turned the hatch over and started to clean things up on the underside. I'm sanding everything smooth on this side so when I cover the inside with panelling, it won't have bulges or dips. Once everything is done on the under side I'll turn it back over and get the first coat of primer on it. I'm going to seal the wood along the edges to the weatherstripping will adhere well. 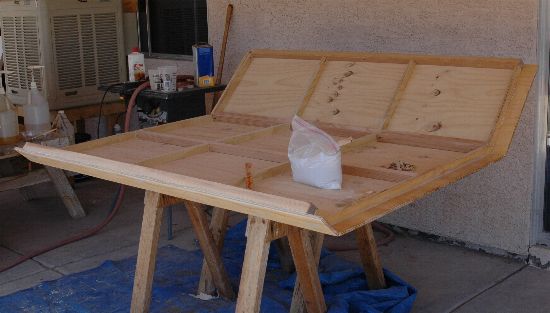 For the first time today I had a problem with the epoxy. I mixed up a single batch of epoxy using a small volume of micro balloons as filler. As I was brushing it on it started to gel. Then the mixing pot started to smoke! I immediately put it down in the dirt beside the house. My immediate reaction was that I had incorrectly mixed the batch. I carefully mixed a second batch and the exact same thing happened. I'm still not sure what happened. It's about 106° today so that may have something to do with it. I'm also going to mix another batch when it's cooler, then pour it into a shallow container so it won't generate so much heat. |