

|
|
Desert Dawg - Building the
Cabin
Part
II
|
January 28-29,
2006 Although there is still a lot of work to be done on the exterior of the trailer, it's time to start working on the interior. I really want to install the front window and roof vent. In order to install them I have to get the interior paneling in place. I've had the side walls cut for quite some time but wasn't quite ready to install them. Now that the exterior is painted I won't be afraid of getting any of that paint on the paneling. 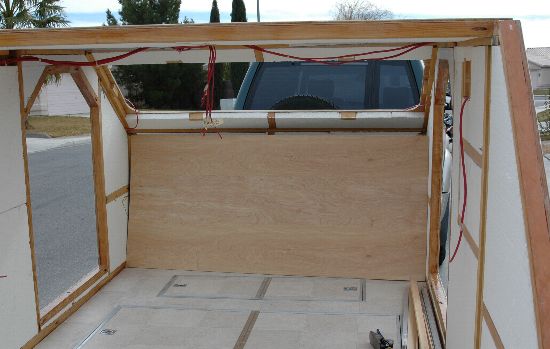 As I've talked about before, I have decided to spray the Minwax Polycrylic finish on the wall and ceiling panels. So far I have sprayed both side walls, the front wall and the door panels. I am *very* pleased with how they have come out. The finish sprays on easily and looks great. Another benefit is the fact that I can clean the spray gun with water. That's a real convenience. I was quite intimidated by the though of using the spray gun but it has been very easy. I'm applying three coats of finish. After each coat the grain is less visible. I think it would take one more coat to get a completely smooth finish. I'm looking to protect the wood rather than get a furniture finish, so three coats it is. 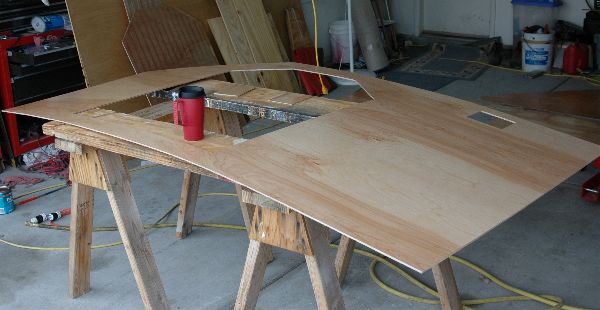 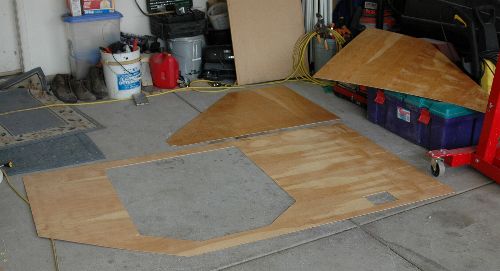 I would like to say that installing the wall panels went without a hitch. After all, I had cut them to fit precisely into place. Did I fail to mention that I installed the vinyl *after* I cut the walls precisely the right size? You probably see where I'm going with this. Not realizing that there were problems ahead, I applied the polyurethane adhesive onto all of the wood framing and confidently started to put the wall panel into place. For some reason it didn't want to fit! Had the trailer shrunk? Maybe the panelling had grown. Suddenly the light dawned and I knew just where I messed up. Stay cool and calm. Step 1 is to panic. Step 2 is to yell things I won't repeat here. I hadn't quite gotten to Step 3 (crying) when I realized that I had my little hand plane. Although there was glue all over everything, I was able to use the plane to cut off enough to make it fit. Whew! That was a close call. Once the glue is applied, you only have a certain amount of time to resolve any problems you run across. 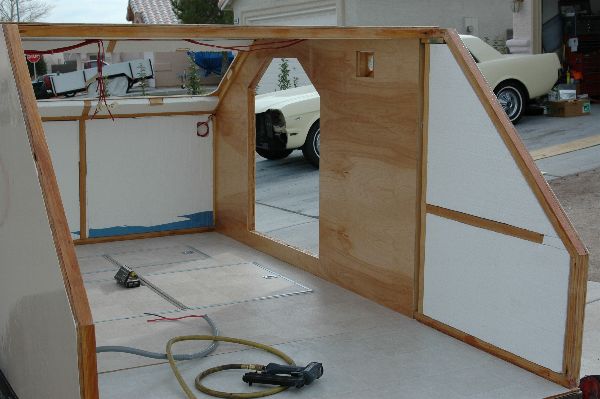 I was able to get both side walls finished!! Unfortunately it was too dark to get any good pictures by the time I wrapped up. I'll take more pictures next time I work on the trailer. I will say though that the interior looks really nice. I never thought I could make something come out as good as this is. It's not perfect by any means, but I'm as proud as I can be. February 05, 2006 I only have one day to work on the trailer this weekend, so I wanted to get as much done as I can. I completed and installed the ventilation fans in both walls. Then I sprayed another coat of finish on the front panel. After it had dried I put it in place and installed both reading lights. 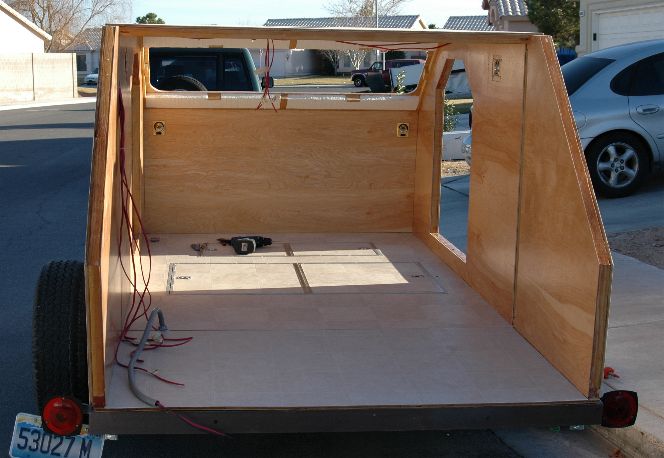 It's really encouraging to see the interior coming together. It seemed like I'd never get past the styrofoam insulation phase. I know that there is a lot left to do, but it seems like I've made some good progress in the last month or so. My goal is to be able to attend the Redwood teardrop gathering at the end of July. That should be an achievable goal. February 11-12, 2006 I'm getting anxious to get some of the "hardware" installed into the trailer. High on my list is to get the front widow and roof vent in place. Time restrictions this weekend allowed me only enough time to install the front window. Still, I'm really happy to have that task out of the way. 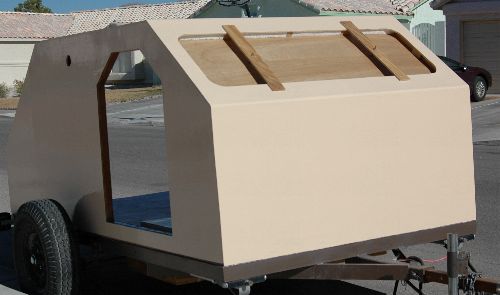 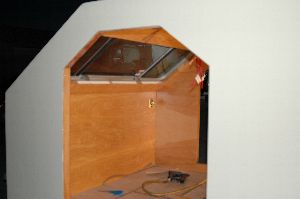 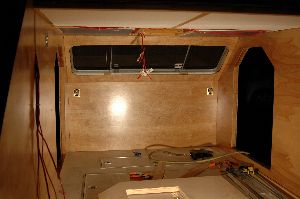 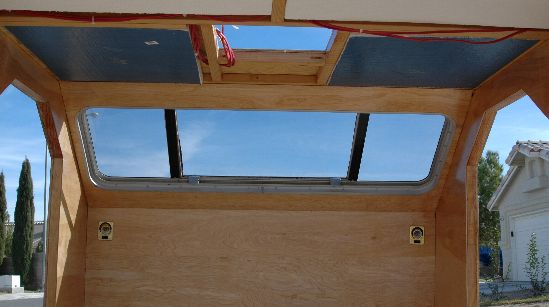 I put fresh putty all around the outside rim of the window before setting it in place for the last time. The interior trim ring pulls the widow tight against the trailer and compresses the putty so the installation is water proof. 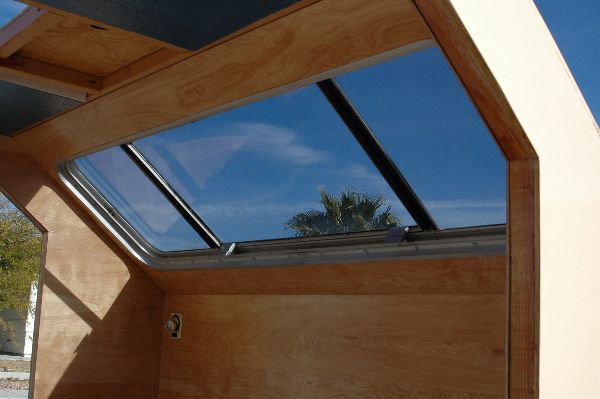 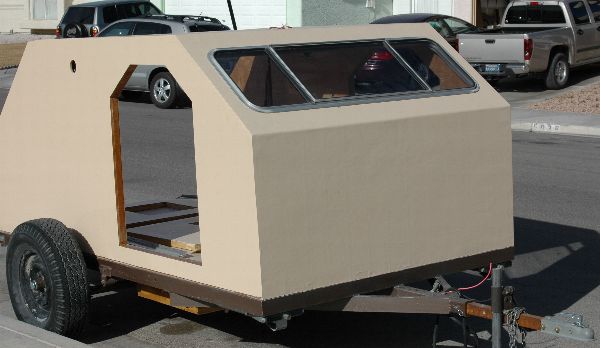 February 18-20, 2006 Here are the ceiling panels. They have been cut to size and sprayed with three coats of Minwax Polycrylic. I am getting ready to lay out the vent opening, fan switch, and the access hole for the overhead wiring. 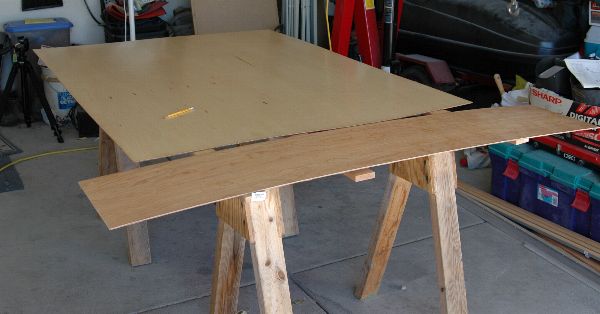 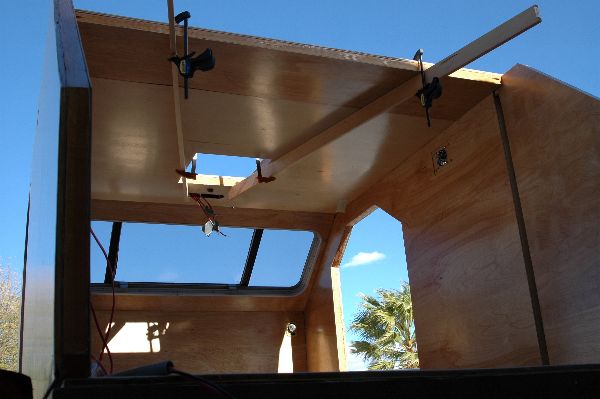  I think I'm ready to close off the cabin. This is a huge milestone for me! Having the bulkhead between the cabin and the galley is really going to be neat. For the first time I will be able to see both spaces without having to use my imagination. You may notice that the bottom part of the framing looks a little funny but there is a method to my madness! I want to use a real queen size mattress in the trailer and I won't be able to get it through either of the front doors. I'm going make lower panels that can be removed so I can get the mattress in or out. It won't be as simple as opening a door because I will have to remove most of the lower galley, but I still think it's a good idea to build in some form of access. 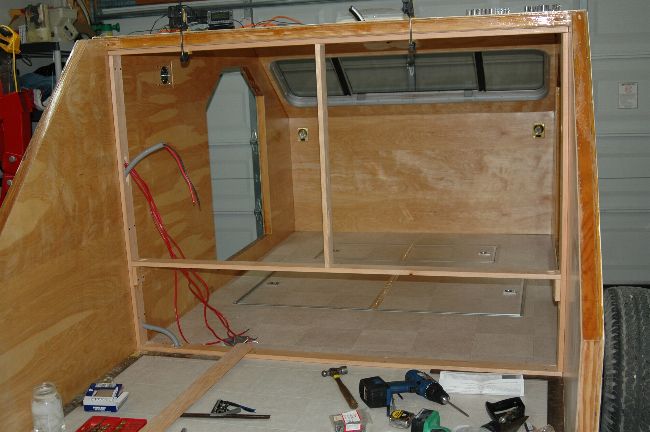 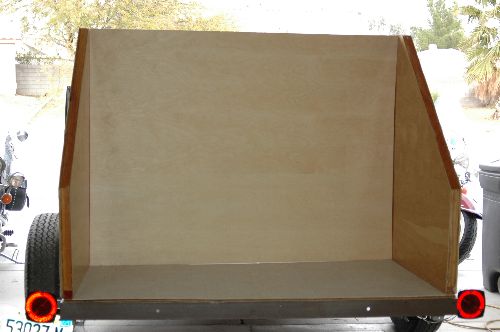 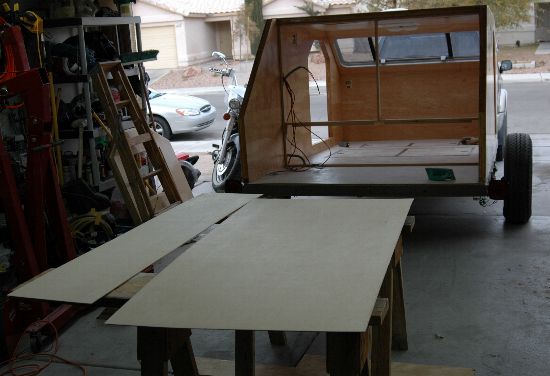  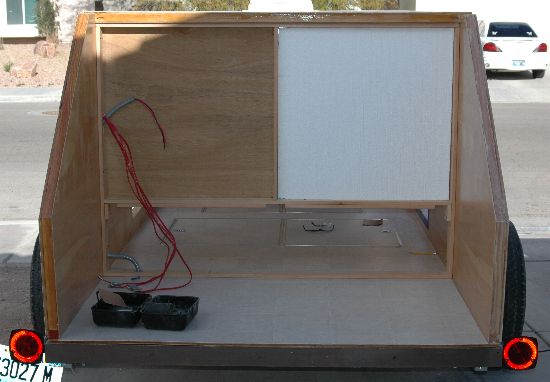 November 25, 2006 This is a milestone!! I now have a mattress in the trailer! I started hitting the mattress stores and found that there is no such a thing as an inexpensive mattress. Ouch! Still, I have reached the point where I have to get it in the cabin so I can close everything up and start building the interior cabinets. 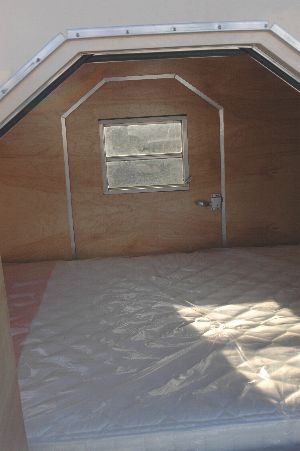 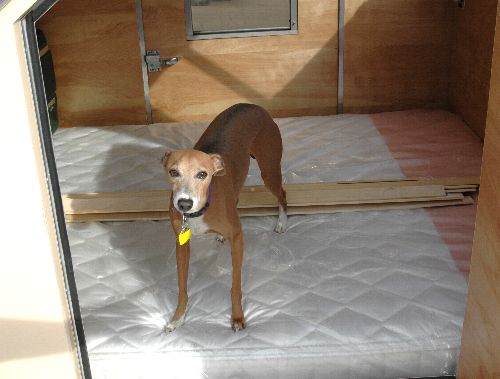 And NO, I didn't sleep in the trailer yet. I'm going to resist the temptation to spend the night in the driveway. I want the maiden voyage to be the fist time I sleep in it! What would Thanksgiving weekend be without a bit of "Black Friday" shopping? I scored two sets of these speakers for $50 a pair. I'm going to install an inexpensive car CD player so I can listen to a bit of music. These should be just right for the small interior of the cabin. 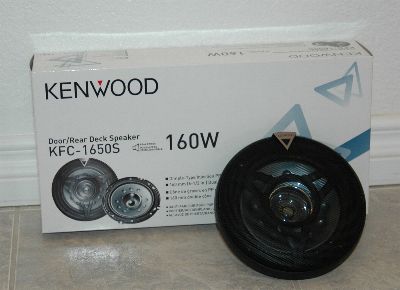 February 17-19, 2006 It's time to focus on the interior shelves. Although they are going to be very simple I am going to try to do a nice job on them. I am going to use poplar for the framing and 1/2 plywood for the shelf surface. The face will be cut from birch ply. Before I closed up the walls, I added bulkheads so I would have something to screw the shelf frames to. 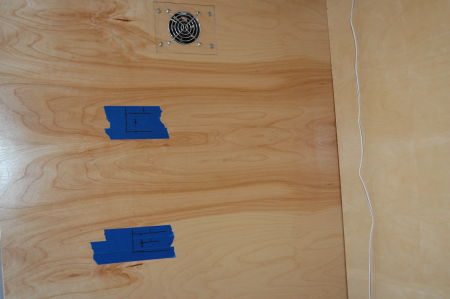 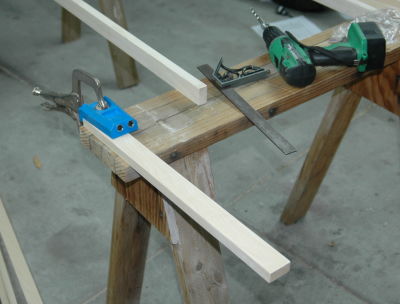 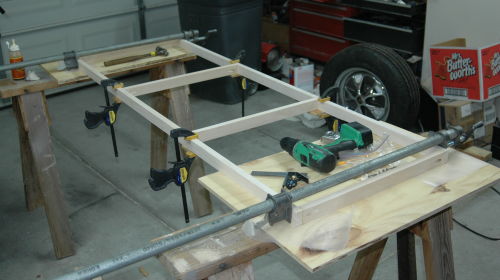 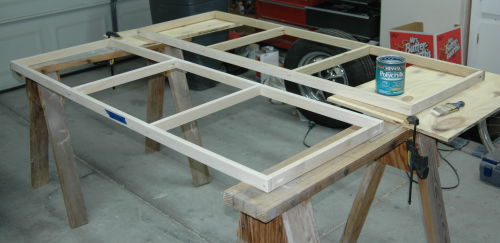 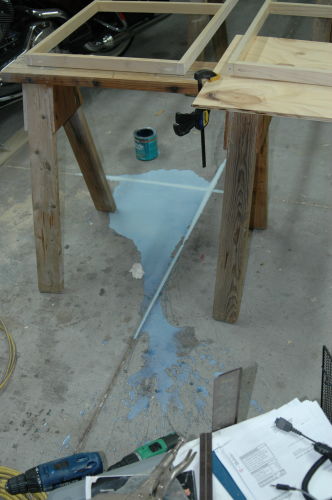 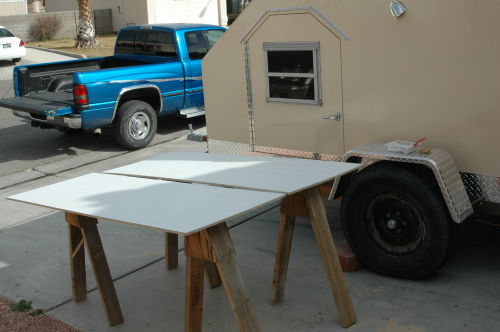 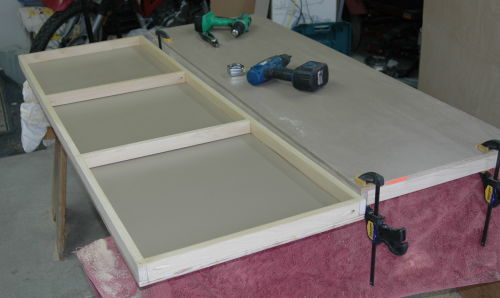 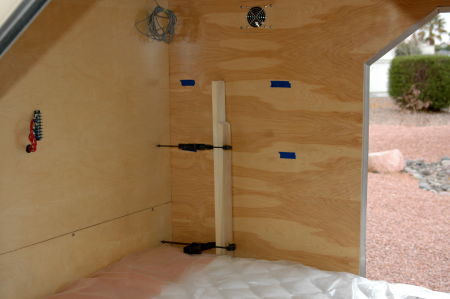 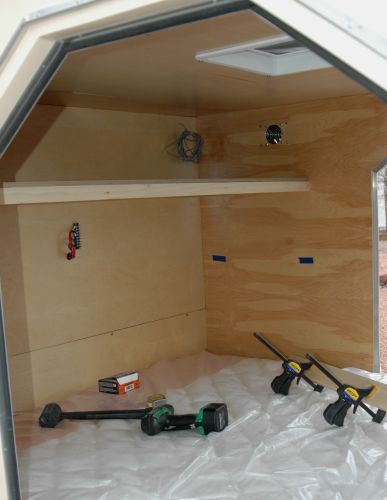 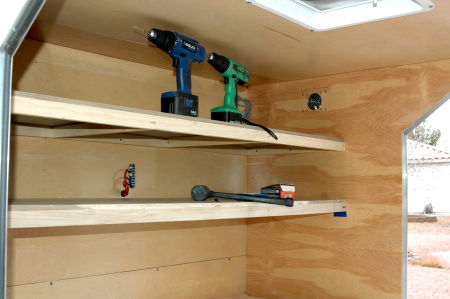 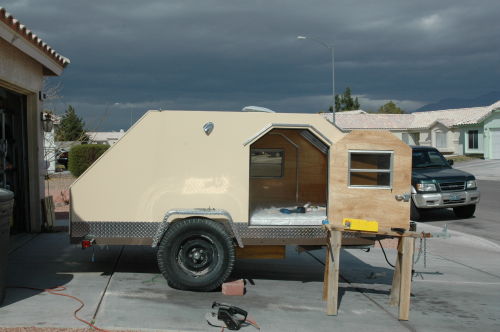 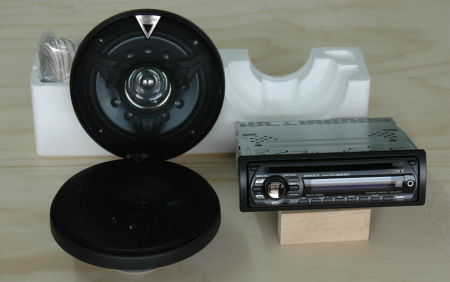 February 24-25, 2007 I really want to get the cabin wrapped up. I had been procrastinating because I just didn't know how to make the shelves and front face. It's going pretty fast now that the light went on and I can envision how to put it all together. The actual front face of the cabinets is going to be a challenge though. There are some thin sections that are going to be a challenge. Let's see how it goes.... 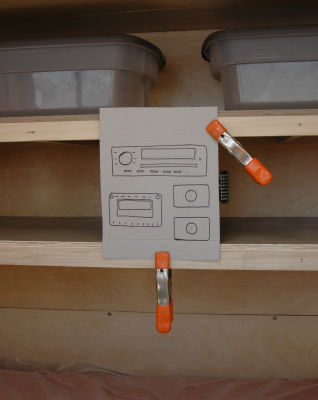 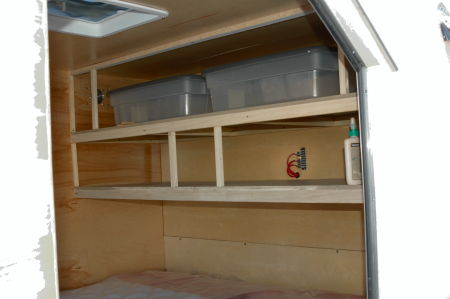 The cabinet face is the most intricate piece in the whole trailer and I would like it to look nice. The birch plywood is a bit tricky to cut if you want nice clean edges. Up to this point I have cut all of the plywood with a utility knife but the cabinet face is going to be cut from 1/4 ply and that's just too think to do by hand. I've also tried to cut with a jig saw and it leaves a horrible edge. Some of the guys on the teardrop discussion group talk about making a pattern and using their router to cut out the actual part. Maybe it's time to learn that technique. 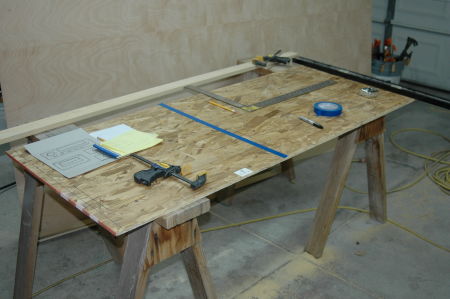 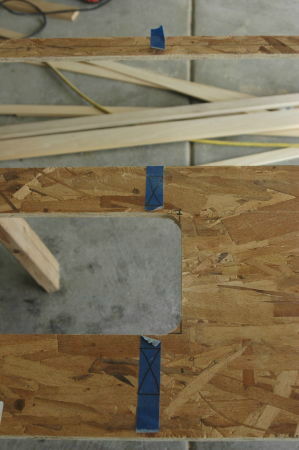 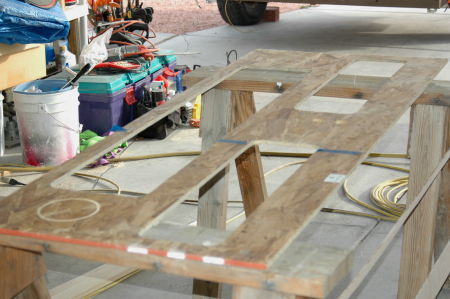 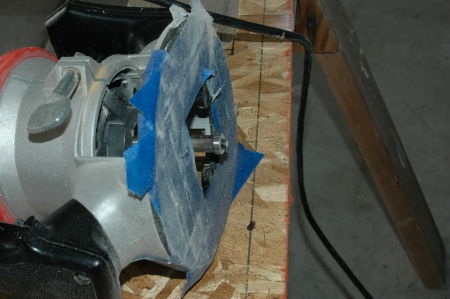 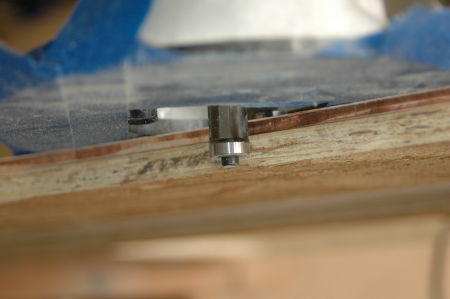 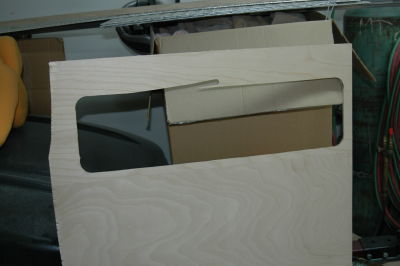 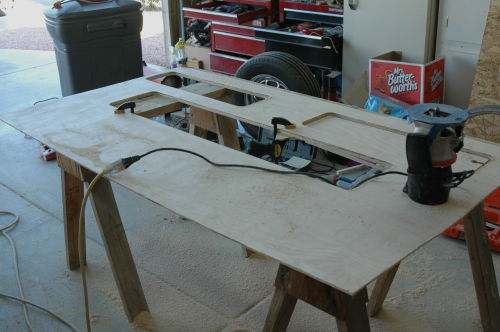 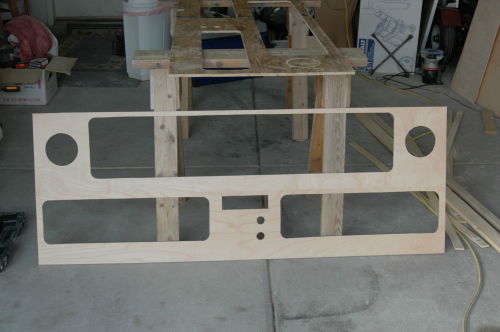 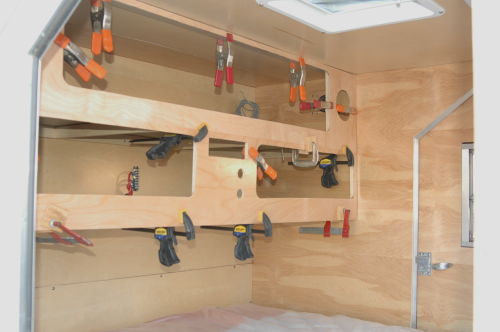 March 3-4, 2007 Here is a photo of the cabinet face with all of the electrical in place. I wish I would have pre-wired for the speakers so it would look nicer. Still, it sounds good and there will be "stuff" stored up in these shelves so it won't be all that visible anyway.  March 10-11, 2007 Now that the radio is in place and the 12v outlets are hooked up, I'm thinking that I want a place to set the portable DVD player so I can watch a movie before bed or if the weather gets bad. I may want to use my laptop computer or just have a place to sit my coffee. Space is tight on the inside of one of these little trailers so I'm going to tuck the shelf right underneath the cabinets. The local Lowes had a heavy-duty keyboard slide that was just the right size. 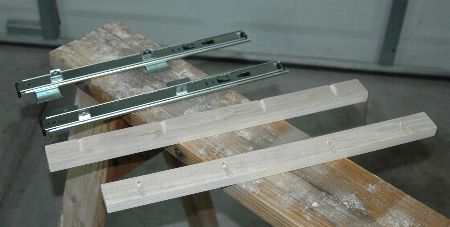 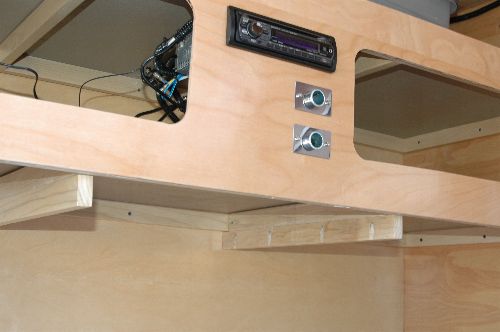 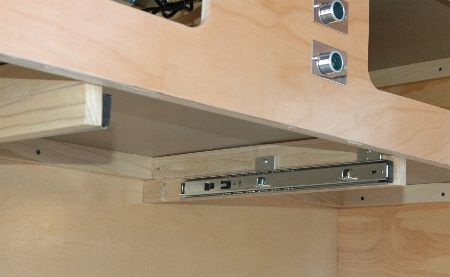 The front face of the pull-out shelf. This is the same poplar that I used to build the side pieces from. I cut each end to 45° so there wouldn't be any sharp corners to hit my leg on. I also used the router with a round-over bit to round the edges. Ok, I admit I'm a clutz. I've cut the shelf and set it in place to make sure that everything is going to fit. I'd rather fix a mistake now than to have to throw the finished shelf away because I made a dumb mistake. Two points about the front face. First, the front face is wider that the shelf so when the shelf is slid in it will hide the hardware and side rails. Second, the front face hangs down below the shelf so you have a finger-pull by reaching under the shelf to pull it out to the extended position. 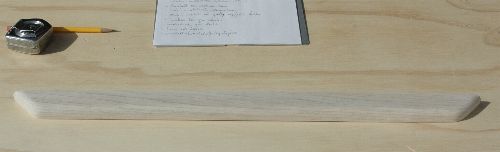 I've cut the shelf and set it in place to make sure that everything is going to fit. I'd rather fix a mistake now than to have to throw the finished shelf away because I made a dumb mistake. Two points about the front face. First, the front face is wider that the shelf so when the shelf is slid in it will hide the hardware and side rails. Second, the front face hangs down below the shelf so you have a finger-pull by reaching under the shelf to pull it out to the extended position. 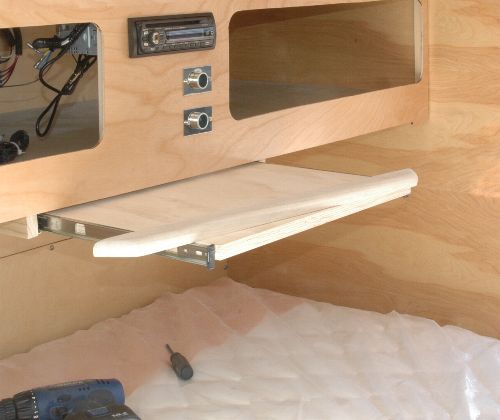 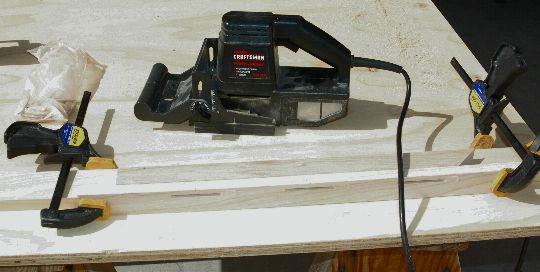 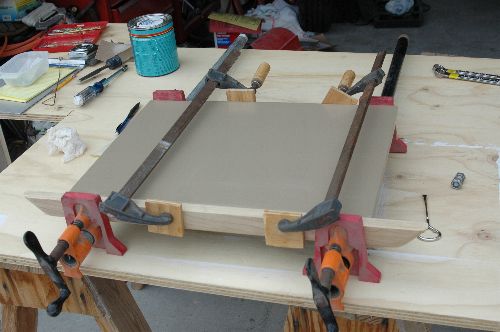 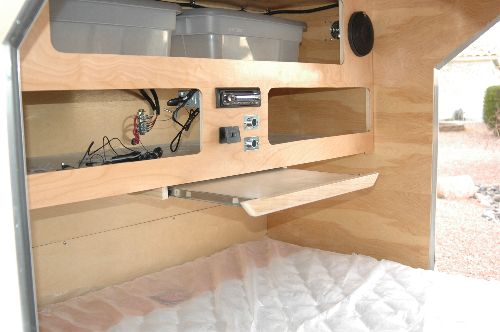 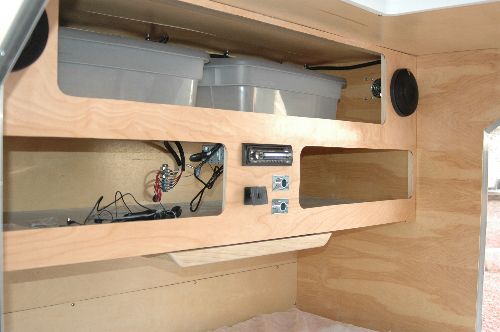 May 5-6, 2007 Can you believe it?? I actually have sheets and pillows in the Dawg!! It's starting to look like a real camping trailer! 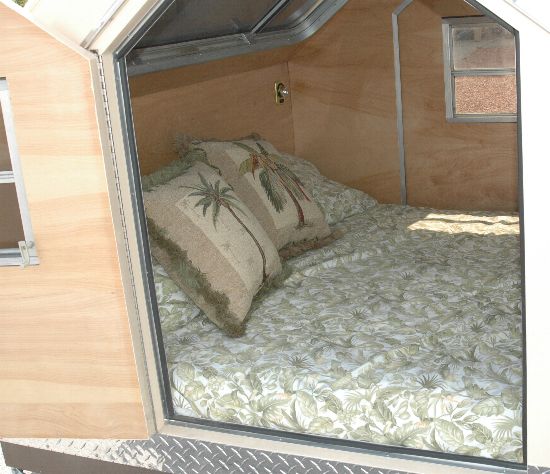 I want to have a little bit of storage on each side of the cabin for small personal items like glasses or a small flashlight. I found these neat mesh bags at the local sporting goods store and they look like they will be just perfect. Too bad they didn't come in green or light brown to match the interior. 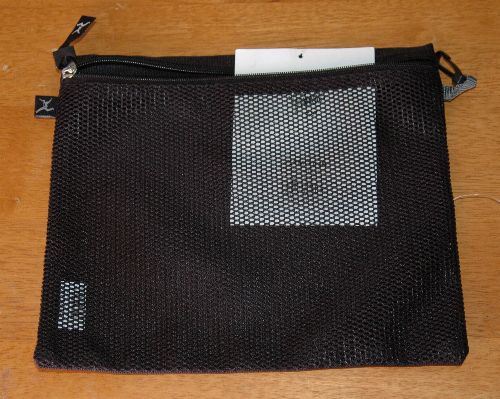 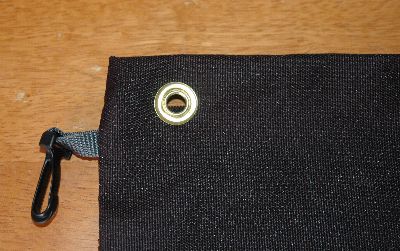  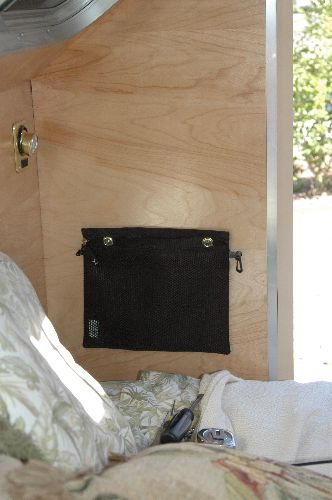 The next thing I needed to do was to install door stops so the doors will not swing around and hit the side of the trailer. If the louver windows are open, a gust of wind could slam the door against the side of the trailer scratching the paint and breaking the window. The most common solution is a strip of nylon webbing screwed to the wall and to the door. I had a friend pick up a tan seatbelt out of the junkyard when he was there. I cut off a long length and threw it in the washing machine to clean it up. I cut two pieces to length, one for each door. I folded each end over for a double thickness where the screws go through. A big squirt of hot glue held it folded over while I finished the strap. Next I heated a piece of clothes hanger over the stove and burned two screw holes in each end. Lastly, I used some stainless steel screws and upholstery washers to hold it in place. 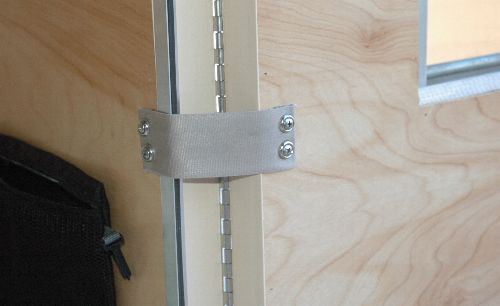 June 16, 2007 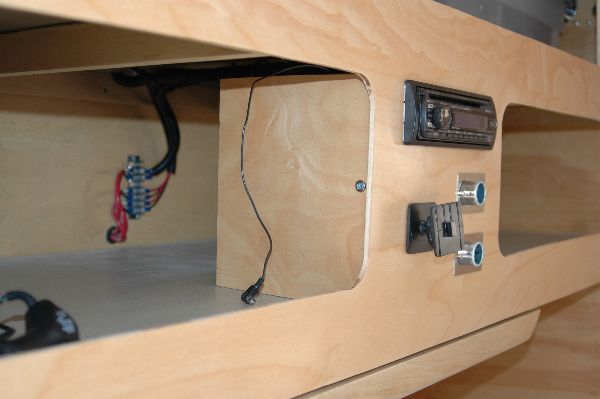 |