

|
|
Desert Dawg - Renovation
Part I
|
October 6, 2019
As you might have already read, the Desert Dawg has been the camping vehicle of choice for all of my outdoor adventures. It's been up to the redwood forests, in southern California for Dutch oven gatherings, and all over the desert southwest to old mines and ghost towns. So a few months ago we were at a grocery store in Tonopah getting ready for a week of remote camping at our mine. It was cold and blustery as we started loading groceries into the galley of the trailer. A huge gust of wind caught the hatch, flipping it up and over on to the top of the trailer. The hatch broke apart at the top 45° joint. Although it destroyed the hatch, it might have been a blessing in disguise. If the hatch had not broken where it did, the weight of the hatch would have certainly ripped the hinge apart most likely destroying the trailer cross-member that the hinge is screwed into. Replacing the cross-member would have required cutting into the roof and galley bulkhead. I would rather build a new hatch. It will give me the opportunity to make it much lighter. The other damage was the the hatch smashed the plastic roof vent into tiny pieces. Now we have nothing but a large hole in the roof. It also smashed the antennas for the FM radio and XM receiver. We didn't want to abandon our week-long camping trip so we decided to see if we could make a temporary fix that would get us through the week. Tony is really creative and quite handy in situations like this. He jumped right in and started patching up the broken joint. In the end, the "fix" ended up being quite workable. Not perfect by any means, but it buys me some time until I can actually start a new hatch. Tony is starting to evaluate the damage. Most of the damage is deep within the joint. I built it strong, but the leverage still broke it apart. How strong did that gust of wind have to be? 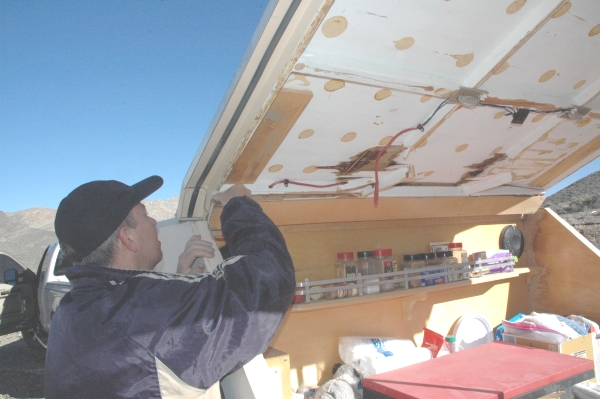
Here is a close-up of the carnage! The joint is no longer at 45°. It's opened up closer to 25 or 30. When it smashed over, it would have been almost perfectly straight. The hatch ribs broke mid-span, so I can't even imagine the forces that were at work during the "crash". 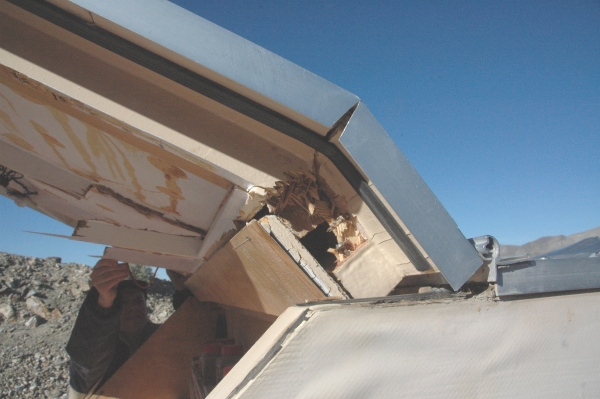
This is a better photograph of the broken ribs. Evidently when the hinge section quit rotating, the remainder of the hatch kept moving causing this damage. 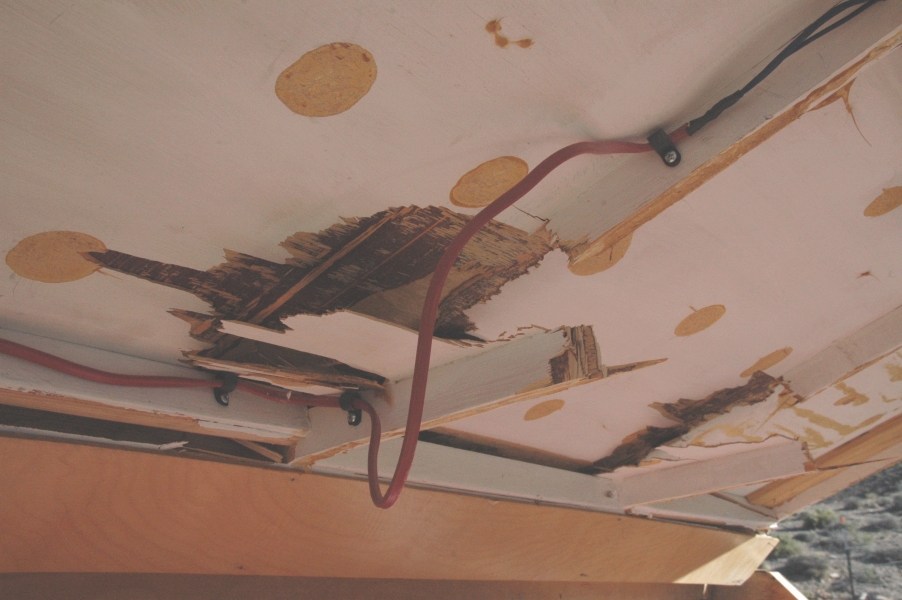
Tony is getting a close up view and trying to come up with a solution. Trying to repair the hatch in place didn't look like it was going to be a viable approach. We needed to be able to apply a lot of force to get things close to their original position. We would also need to clamp things in place, then start putting screws in place. 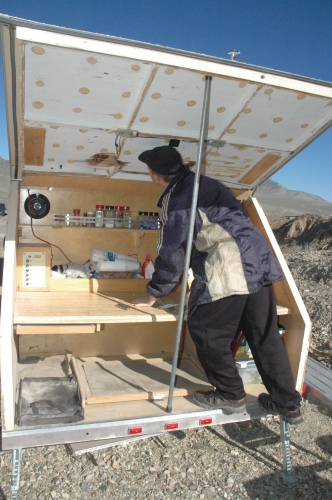
You can see just how badly it smashed the antenna bracket. Both antennas will need to be replaced if I even decide to replace them. Most of the music I want to listen to is on my phone, which I can plug into the auxillary port of the radio. 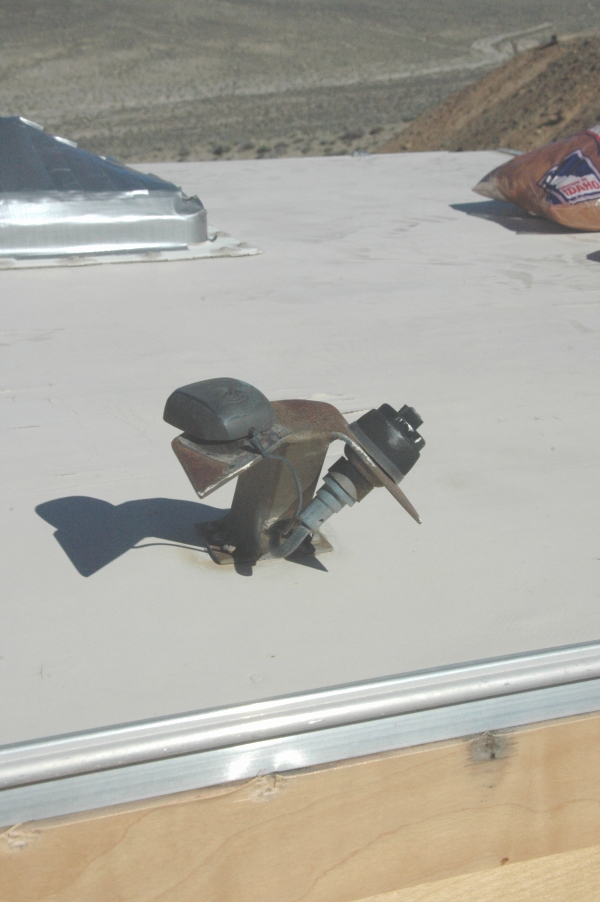
Duct tape is the answer to every situation! He used duct tape to create a temporary covering for the roof vent. The "peak" of the vent was actually a toilet paper tube. Whatever works, right? 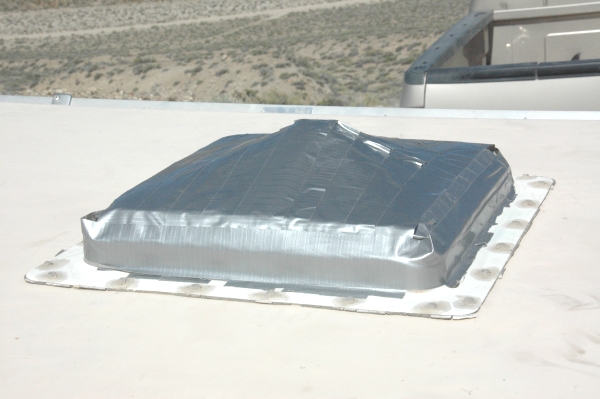
Fortunately, I used a Hurricane Hinge on the hatch. It has two interlocking pieces that will slide horizontally apart. It's awkward, but a real lifesaver in this situation. If we had to unscrew the hinge from the trailer, I'm not sure we could have ever gotten everything lined back up to put back together. 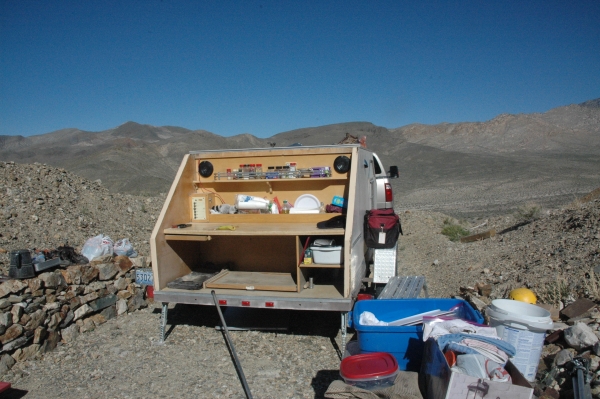
After the hatch "crash", the top joint wouldn't return to its previous 45° angle. We worked at digging out the splintered wood so we could pull it back into place. Clamps aren't meant to be leavers, but they are all we have. 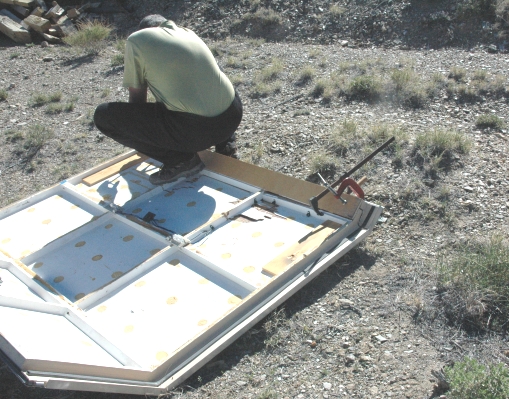
Things are starting to look promising. We've been able to clean out the joint as best possible and get it much closer to the 45° that we want it. 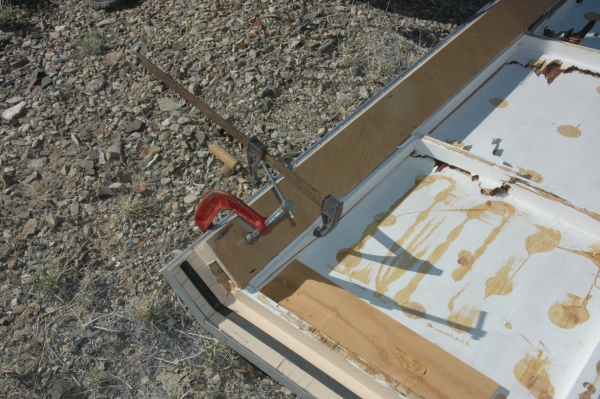
We drove construction screws through the hatch and into the to pieces of plywood in order to pull the center section of the hatch back into place. It worked surprisingly well. 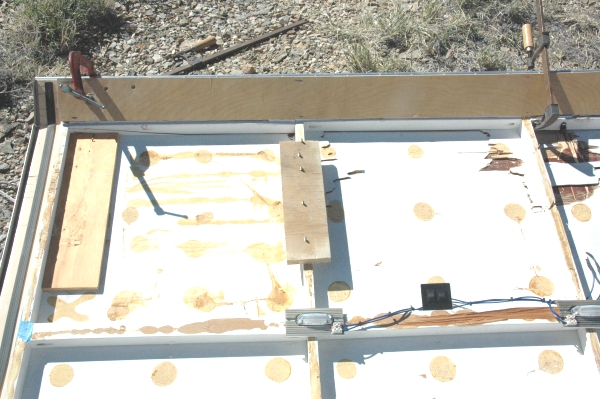
The hatch is back in place! Although the hatch is still badly damaged, it opens and closes without difficulty. It doesn't seal as well as it did prior to the "crash", but it works well enough to get us through the trip. 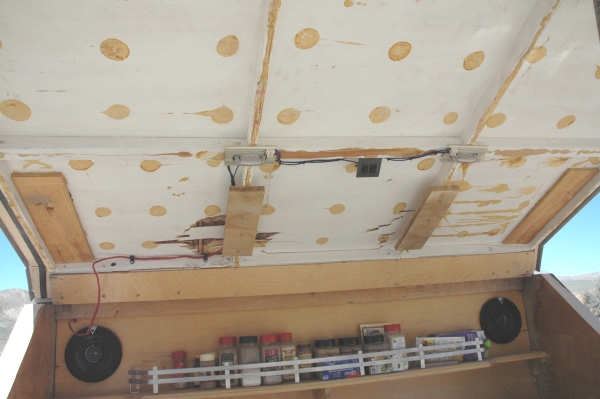
It really doesn't look damaged from this angle. I'm certainly glad that we didn't have to head back into town and lose the trip. 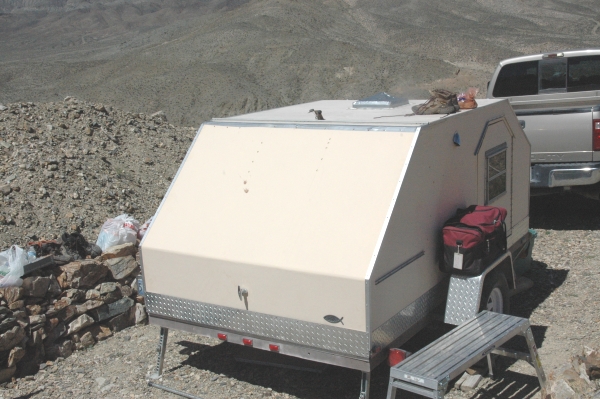
November 9, 2019 Duct tape is great for a lot of things, but isn't quite the correct product for a trailer roof vent. I know I'm a heretic, but I had to say it. :-) I've always wanted to install a vent fan in the trailer. It was out of my budget when I built the trailer, but I decided to splurge and put one in. A lot of folks have good things to say about the Fan-Tastic fans and it's the one I chose. I purchased the model with three speeds and can either blow air out or draw air in. They offer a number of models with additional features such as remote control or a rain sensor that will automatically close the vent. 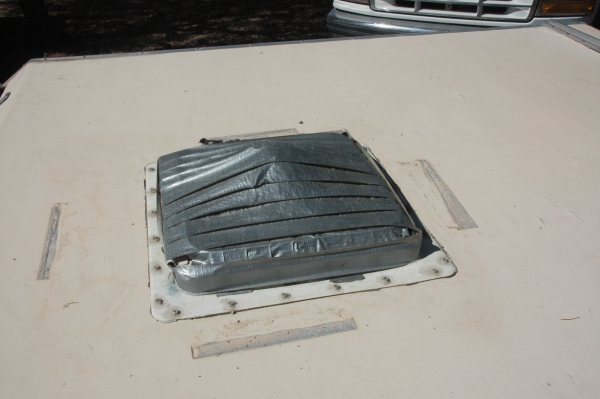
Amazon to the rescue. They delivered the fan and I was ready to get to work. This isn't an "unboxing" blog, so you don't get to see me open it up. I will say that it was quite well packaged and there were no damaged parts. 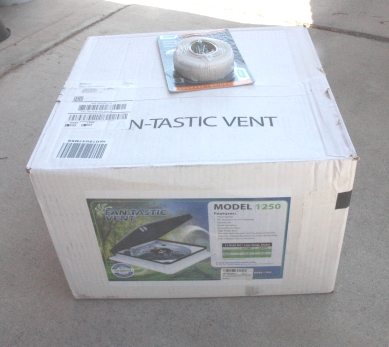
I think it's a good looking vent. Of course, it's a fan. How good is it going to look? 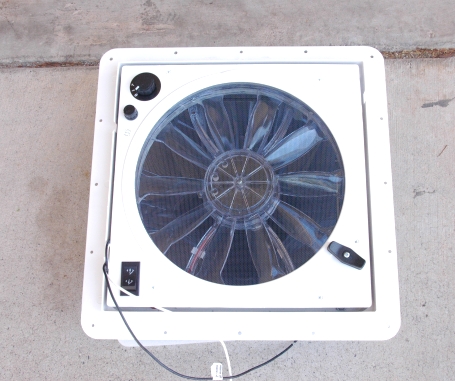
The fan came with a tinted lid. It is nice to get a bit of light into trailer during the day. In the morning the tint is dark enough that the light doesn't wake me up in the morning. 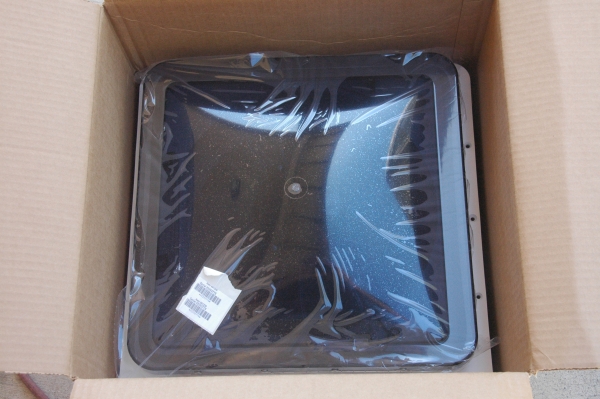
The screws in the new fan don't line up with the old holes so I needed to fill the holes. Some waterproof Titebond glue and a box of toothpicks were all it took to fill the holes. The holes will be covered with butyl tape as I install the new vent, but I still didn't want open holes where water could possibly find it's way into the wood. 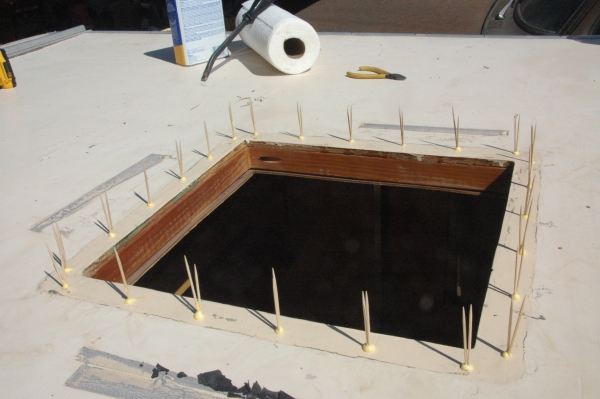
I trimmed and sanded the toothpicks flush with the roof. I also took some time to really clean and prep where the butyl tape will be reinstalled. It would be easy to just throw the new vent in place but that's not how I like to do things. 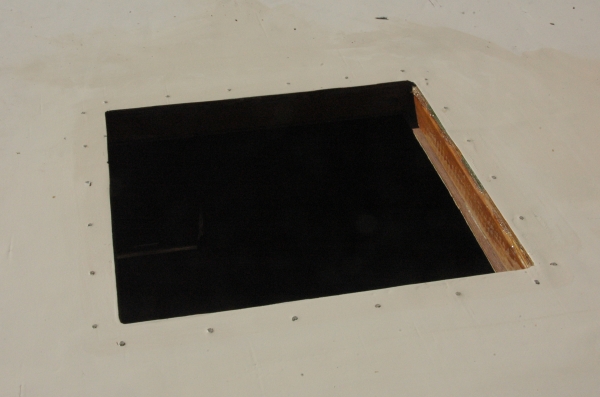
An initial test fit to see if I need to trim anything. It fits perfect. 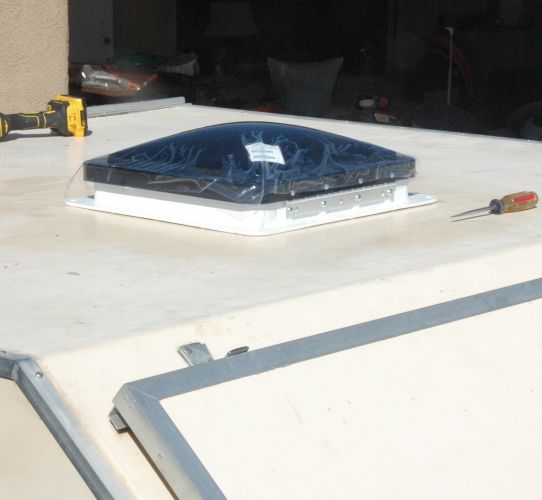
I really like the vent. It is nicely built and I would absolutely buy it again if I needed another roof vent. 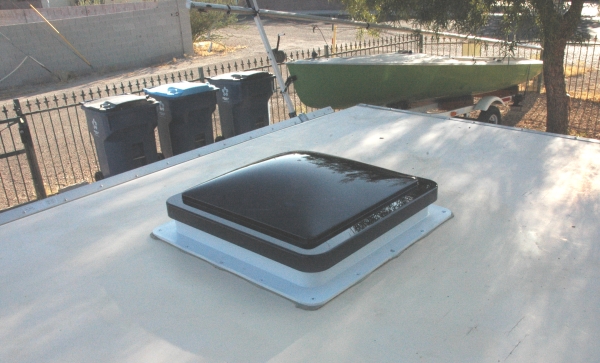
The sides of trim ring are made deep enough for roofs of different thicknesses. My roof is about 1½ inches think so the sides need to be cut down to the proper depth. Although this picture shows a jig-saw, I ended up cutting the plastic using a straight edge and a utility knife. A couple of passes with the utility knife cut right through the plastic. 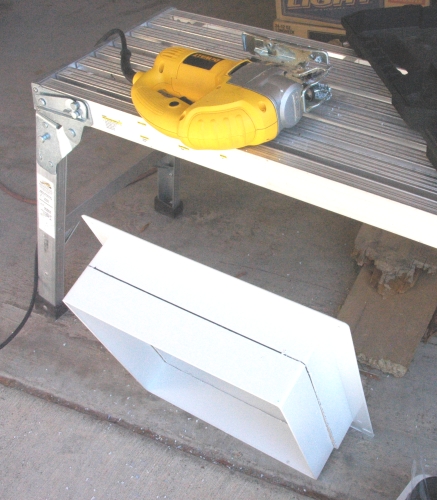
When I first started building the trailer I was pretty sure I would install a roof fan at some point in the future. I installed a wiring bus in the roof that would provide power when the time came. The bus is covered by the roof light, so access is as easy as removing the light. 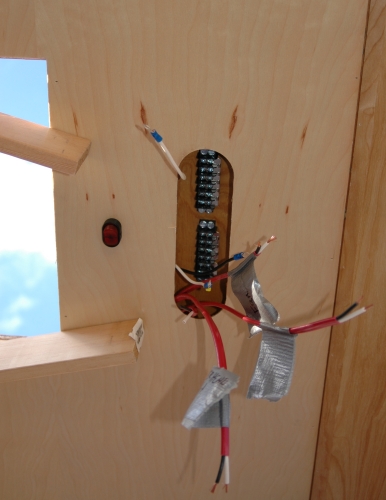
The fan is in place and I couldn't be happier. I can cool the cabin off when the temp starts to warm up. The fan is reasonably quiet, especially at the low speed. As expected, it's noisier at the top speed. 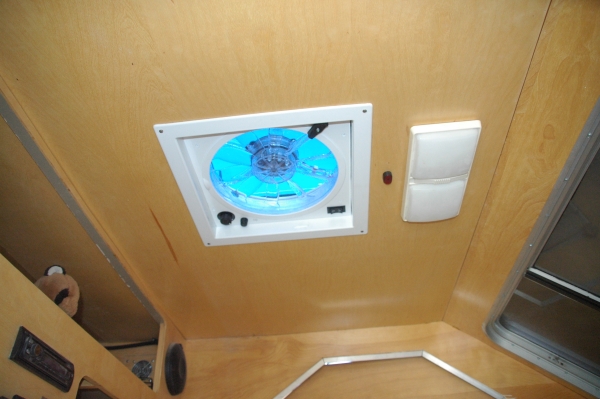
January 1, 2020 The Desert Dawg has been on the road for a number of years now. I have not been easy on her as I've dragged her all over on paved roads, dirt roads, and no roads. Over time some issues have popped up that I need to take care of. Most of the issues have resulted from my lack of experience with construction materials and techniques. Other could have been prevented by better design. Also, the trailer has never been garage kept so it has been exposed to the elements for its entire existance. It may sound like I'm disappointed with the trailer, but nothing could be further from the truth. I am very happy with the trailer. I am just trying to be analytical so anyone thinking of building their own trailer won't make similar mistakes. If there was one issue that rises above any of the rest, it would be water. In spite of my efforts, it has found its way into the trailer and done its damage. It's time to repair the damage and see if I can prevent it in the future. Here you can see where water has gotten under the paint and caused it to peel. 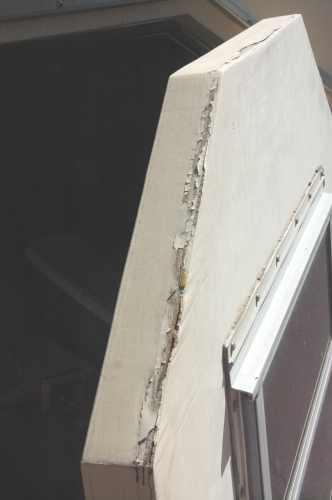
I have the same issue with the door openings. I used a body filler to smooth out the end grain of the plywood before painting it. I did not realize at the time that body filler contains talc which will absorb water. I suspect that this is the root of much of my water damage. 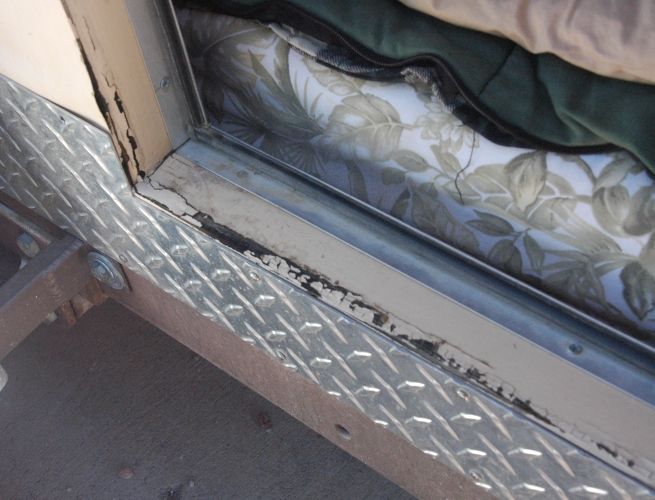
Another issue is this checking on the flat surfaces, mostly on the roof but some on the walls as well. 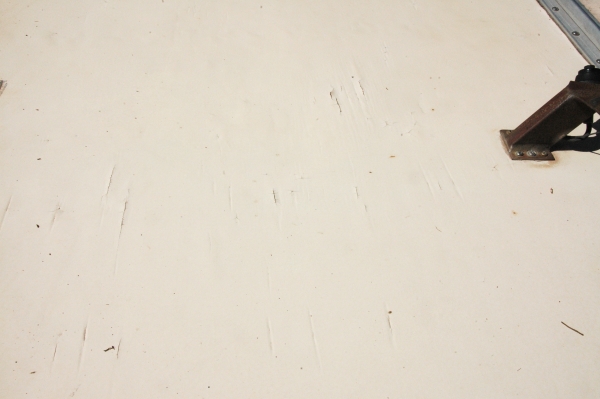
Here is a close up of some of the checking. I'll need to get it fixed before water intrusion does significant damage. 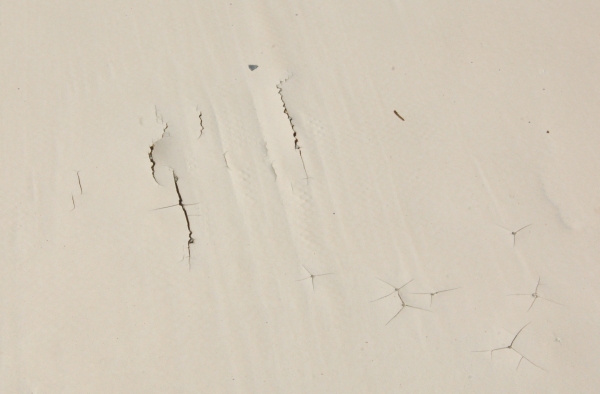
Water damage at one corner of the galley. 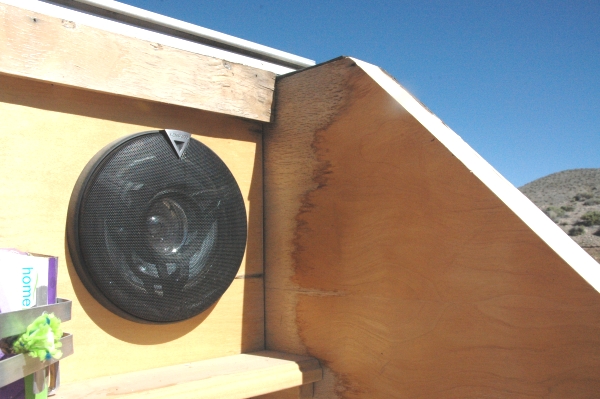
The same type of damage on the other corner. I've not figured out how the water gets in but it's going to need to be fixed. I'm not sure I will be able to fix the damage. I'm considering painting the galley rather than tearing it all the way back to the studs and installing new paneling. 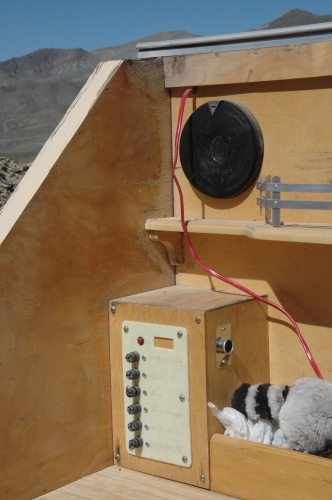
|